Managing mission-critical RFQs with outdated tools can be a nightmare. Procurement teams often struggle to juggle countless vendors, scattered email threads, varied quote formats, and tight deadlines. This chaos makes it tough to stay organized and make data-driven decisions.
We know this challenge firsthand. That's why we built this product: to transform chaotic, inefficient RFQs into a streamlined, intuitive experience. Our goal is simple: to simplify your entire quoting process, from sending out requests to analyzing returned quotes. This means you and your team can move faster, communicate clearly, and make smarter purchasing decisions.
With Our RFQ platform, You Get:
- A Central Hub for RFQs: Sending out a RFQ? Purchaser is the place to be. Every message and quote lives in one organized place, accessible to your whole team.
- Vendor-friendly communication: Vendor don’t need to learn new software — they just get clear, well-formatted emails and quote however they’d like.
- Clear quote comparisons: When responses and quotes come in, we normalize the data and format the output so you can compare quotes quickly without having to spend an entire da
- Threaded messaging inside the app: Keep all vendor communication contextual to the RFQ at hand and stop searching around your inbox for a vendor response.
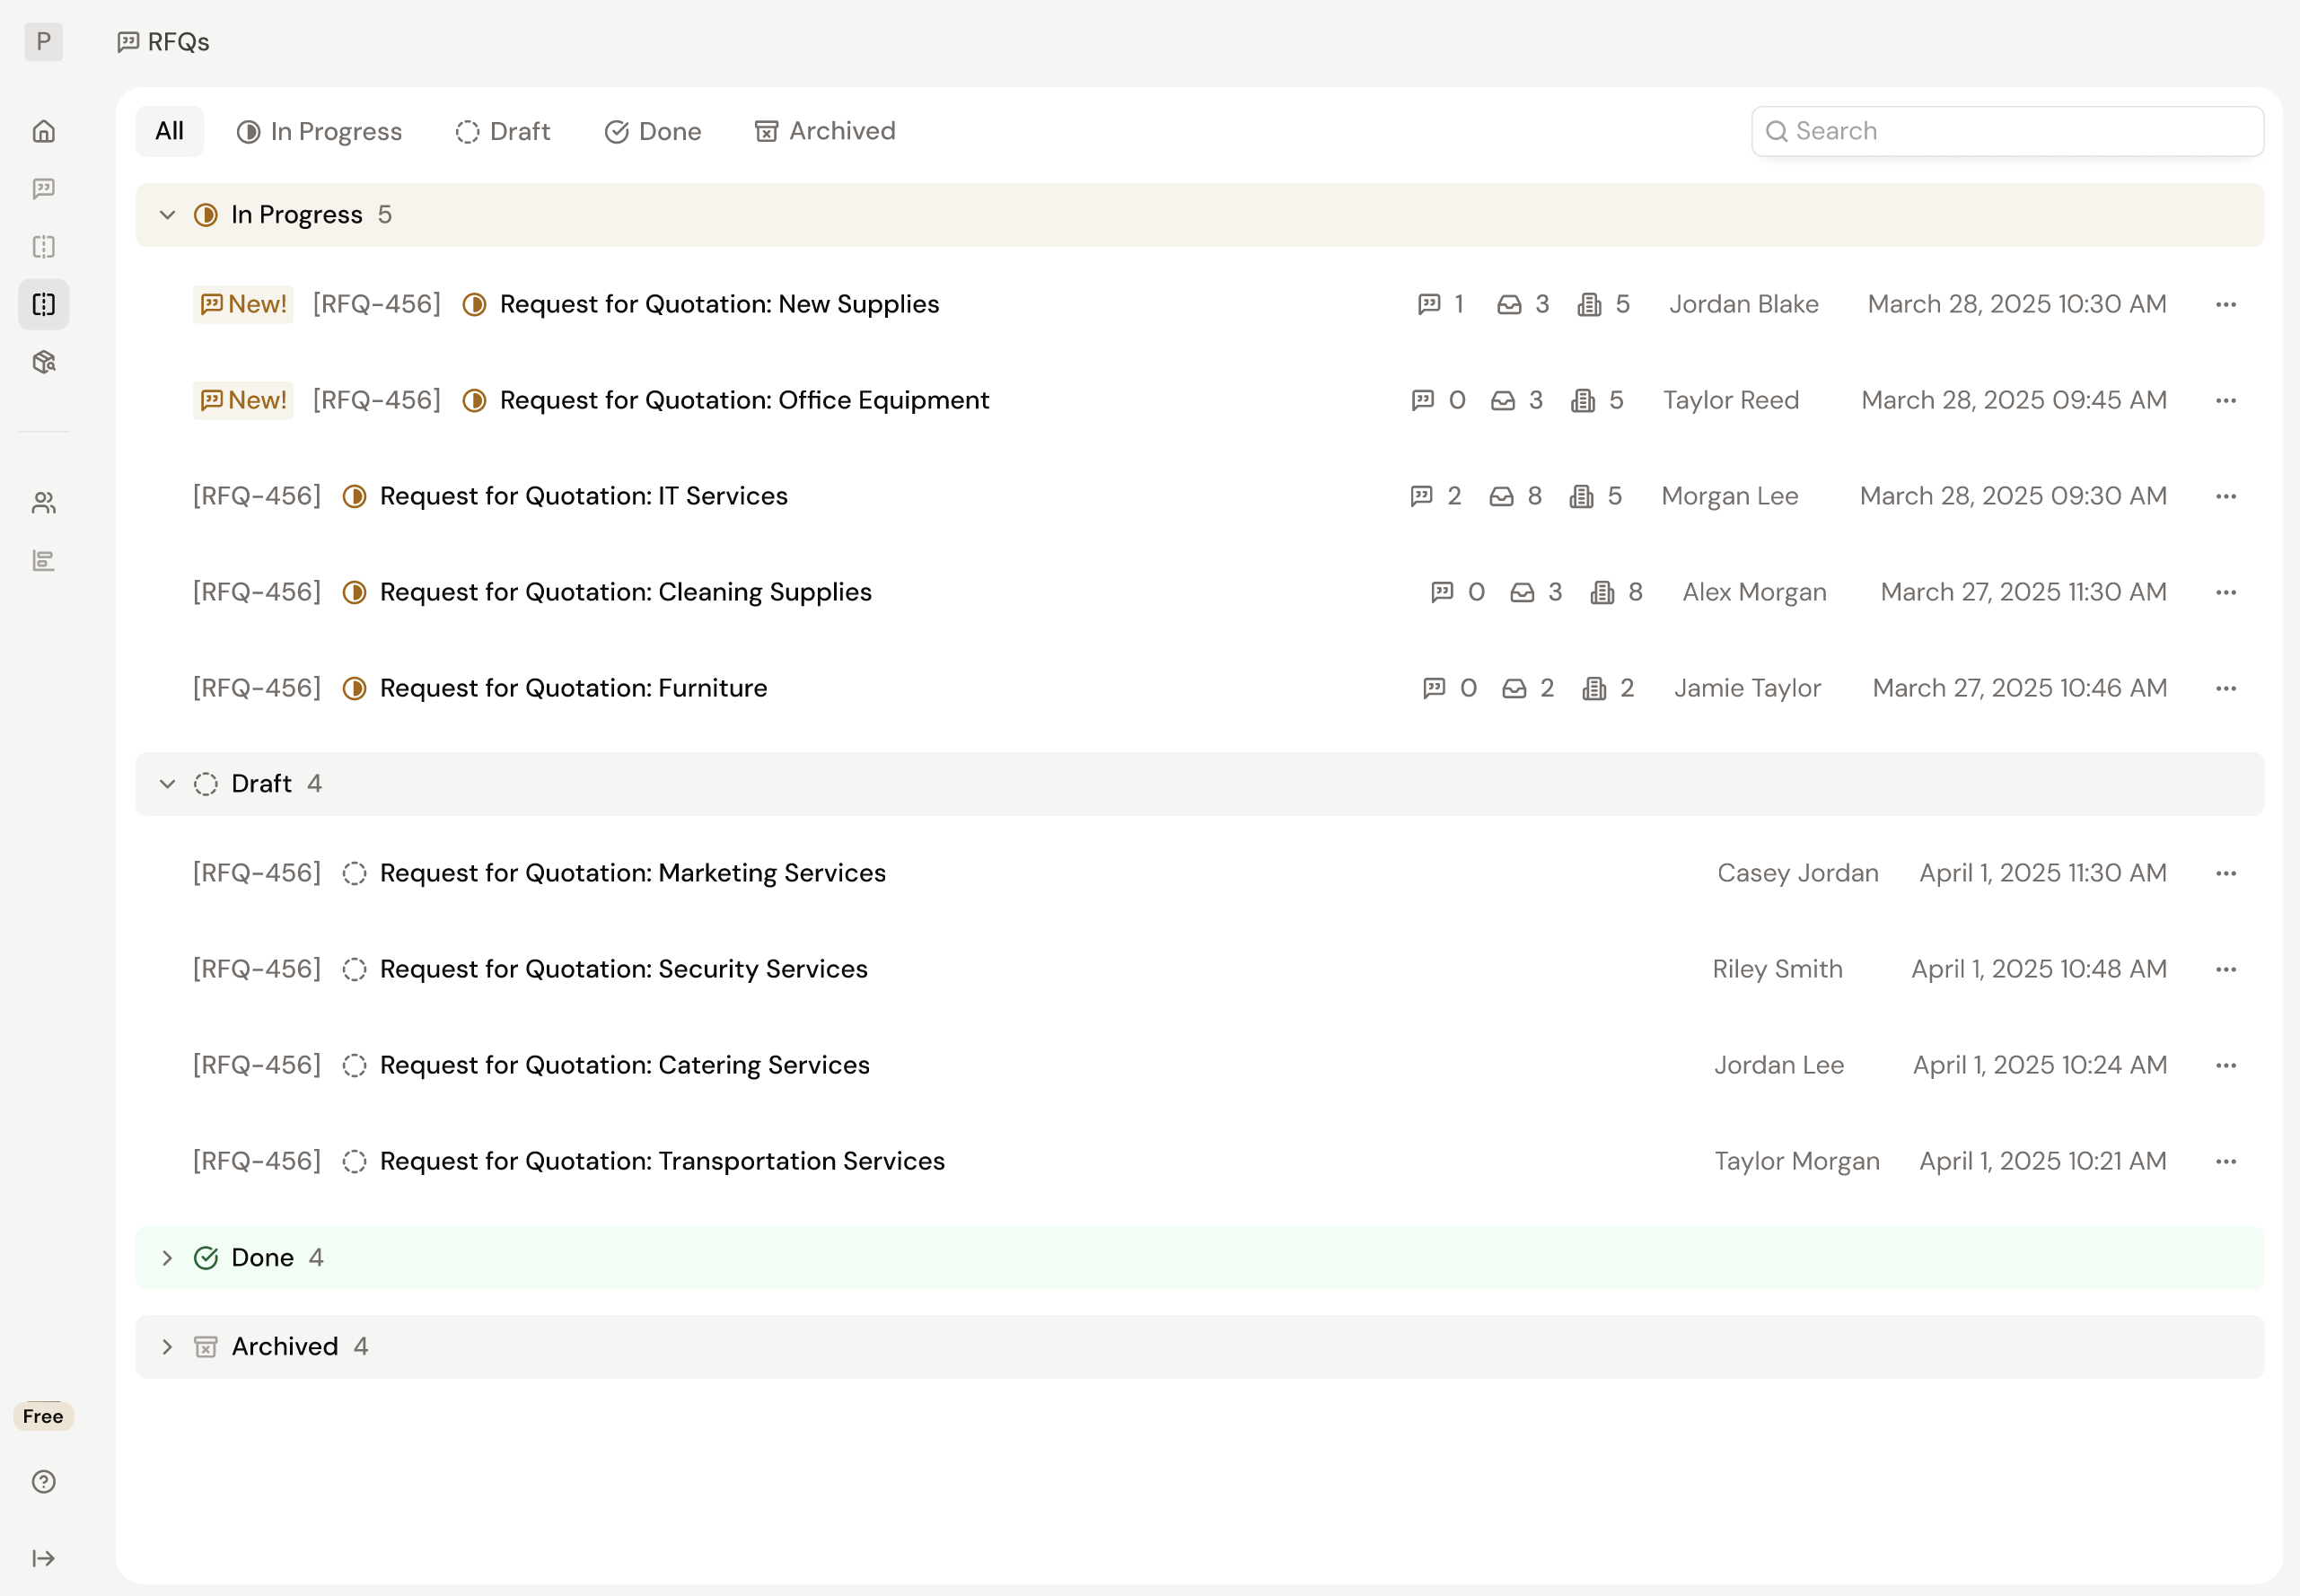
Getting Started with RFQs
Getting started with RFQs in Purchaser is as easy as drafting a new email. There's no complicated steps required for you and no extra steps for your vendors. Vendors will simply receive an email of your RFQ and respond just as they do today. Purchaser augments your existing workflow without forcing you to change your process.
To learn more about each part of our RFQ platform, visit our other guides below.
- Create & Send RFQ: Understand how to create a new RFQ from scratch, a template, or an existing document.
- Respond to RFQs: Learn how to monitor your RFQ responses, link vendor responses to your RFQ, and send messages out to all vendors easily.
- Integrate With Your Email: Learn how connecting Purchaser with your work email can unlock an increase in response rates and reduce confusion.
- Using RFQ Templates: Understand how to utilize RFQ templates to speed up your process and help you send more RFQs.
- Missing Vendor Replies: Learn how to forward emails from separate threads to your RFQ to keep all communication and content organized in one place.
- Broadcast a Message: Want to contact all your vendors at once? Learn how you can broadcast a message in Purchaser for each RFQ Project.
Still got questions? Contact Us or Book a Demo to learn more about how Purchaser can fit into your workflow.