Contact Lists are a great way to organize your contacts into categories. If you've ever been asked, "Who are the aluminum vendors we work with?", then you probably know that coming up the answer quickly can be a challenge. Lists in Purchaser let you organize contacts however you need with the added benefit of selecting recipients for RFQs faster.
Create a New list
There are a couple ways to create a new List. First, let's assume that you don't have any lists yet.
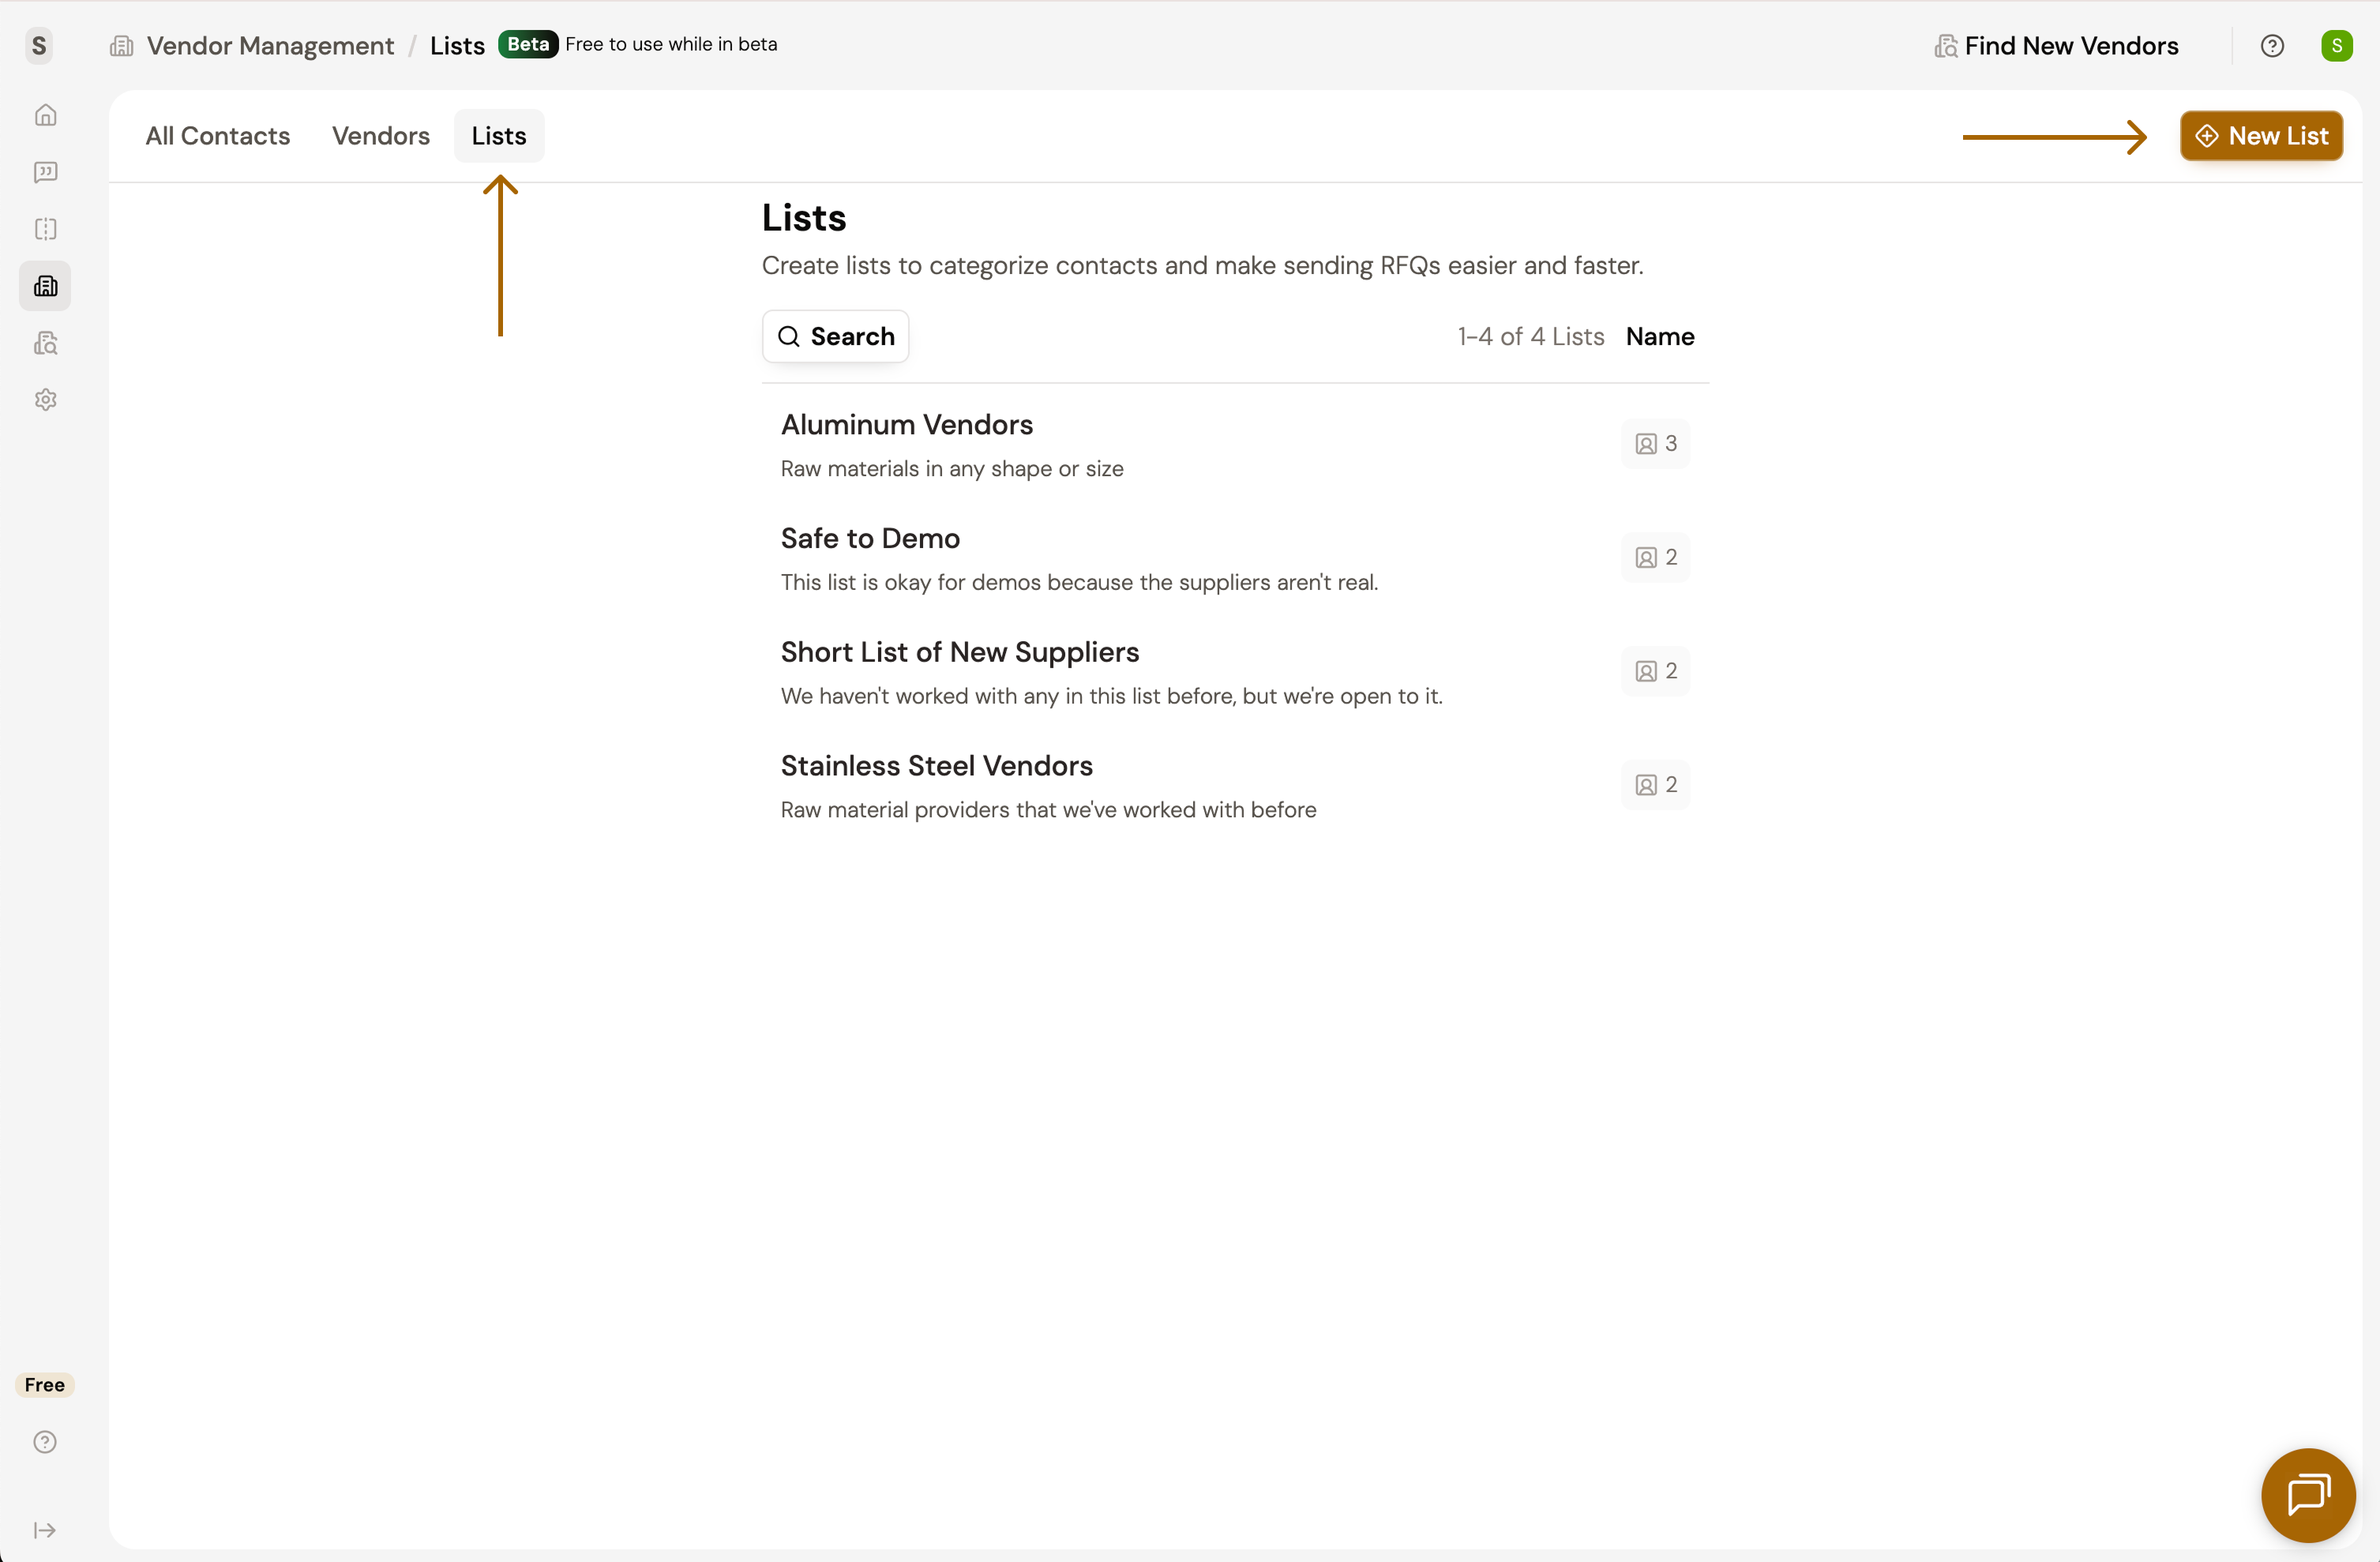
- Navigate to the Vendor Management page by using the Nav Menu on the left.
- Select the Lists tab.
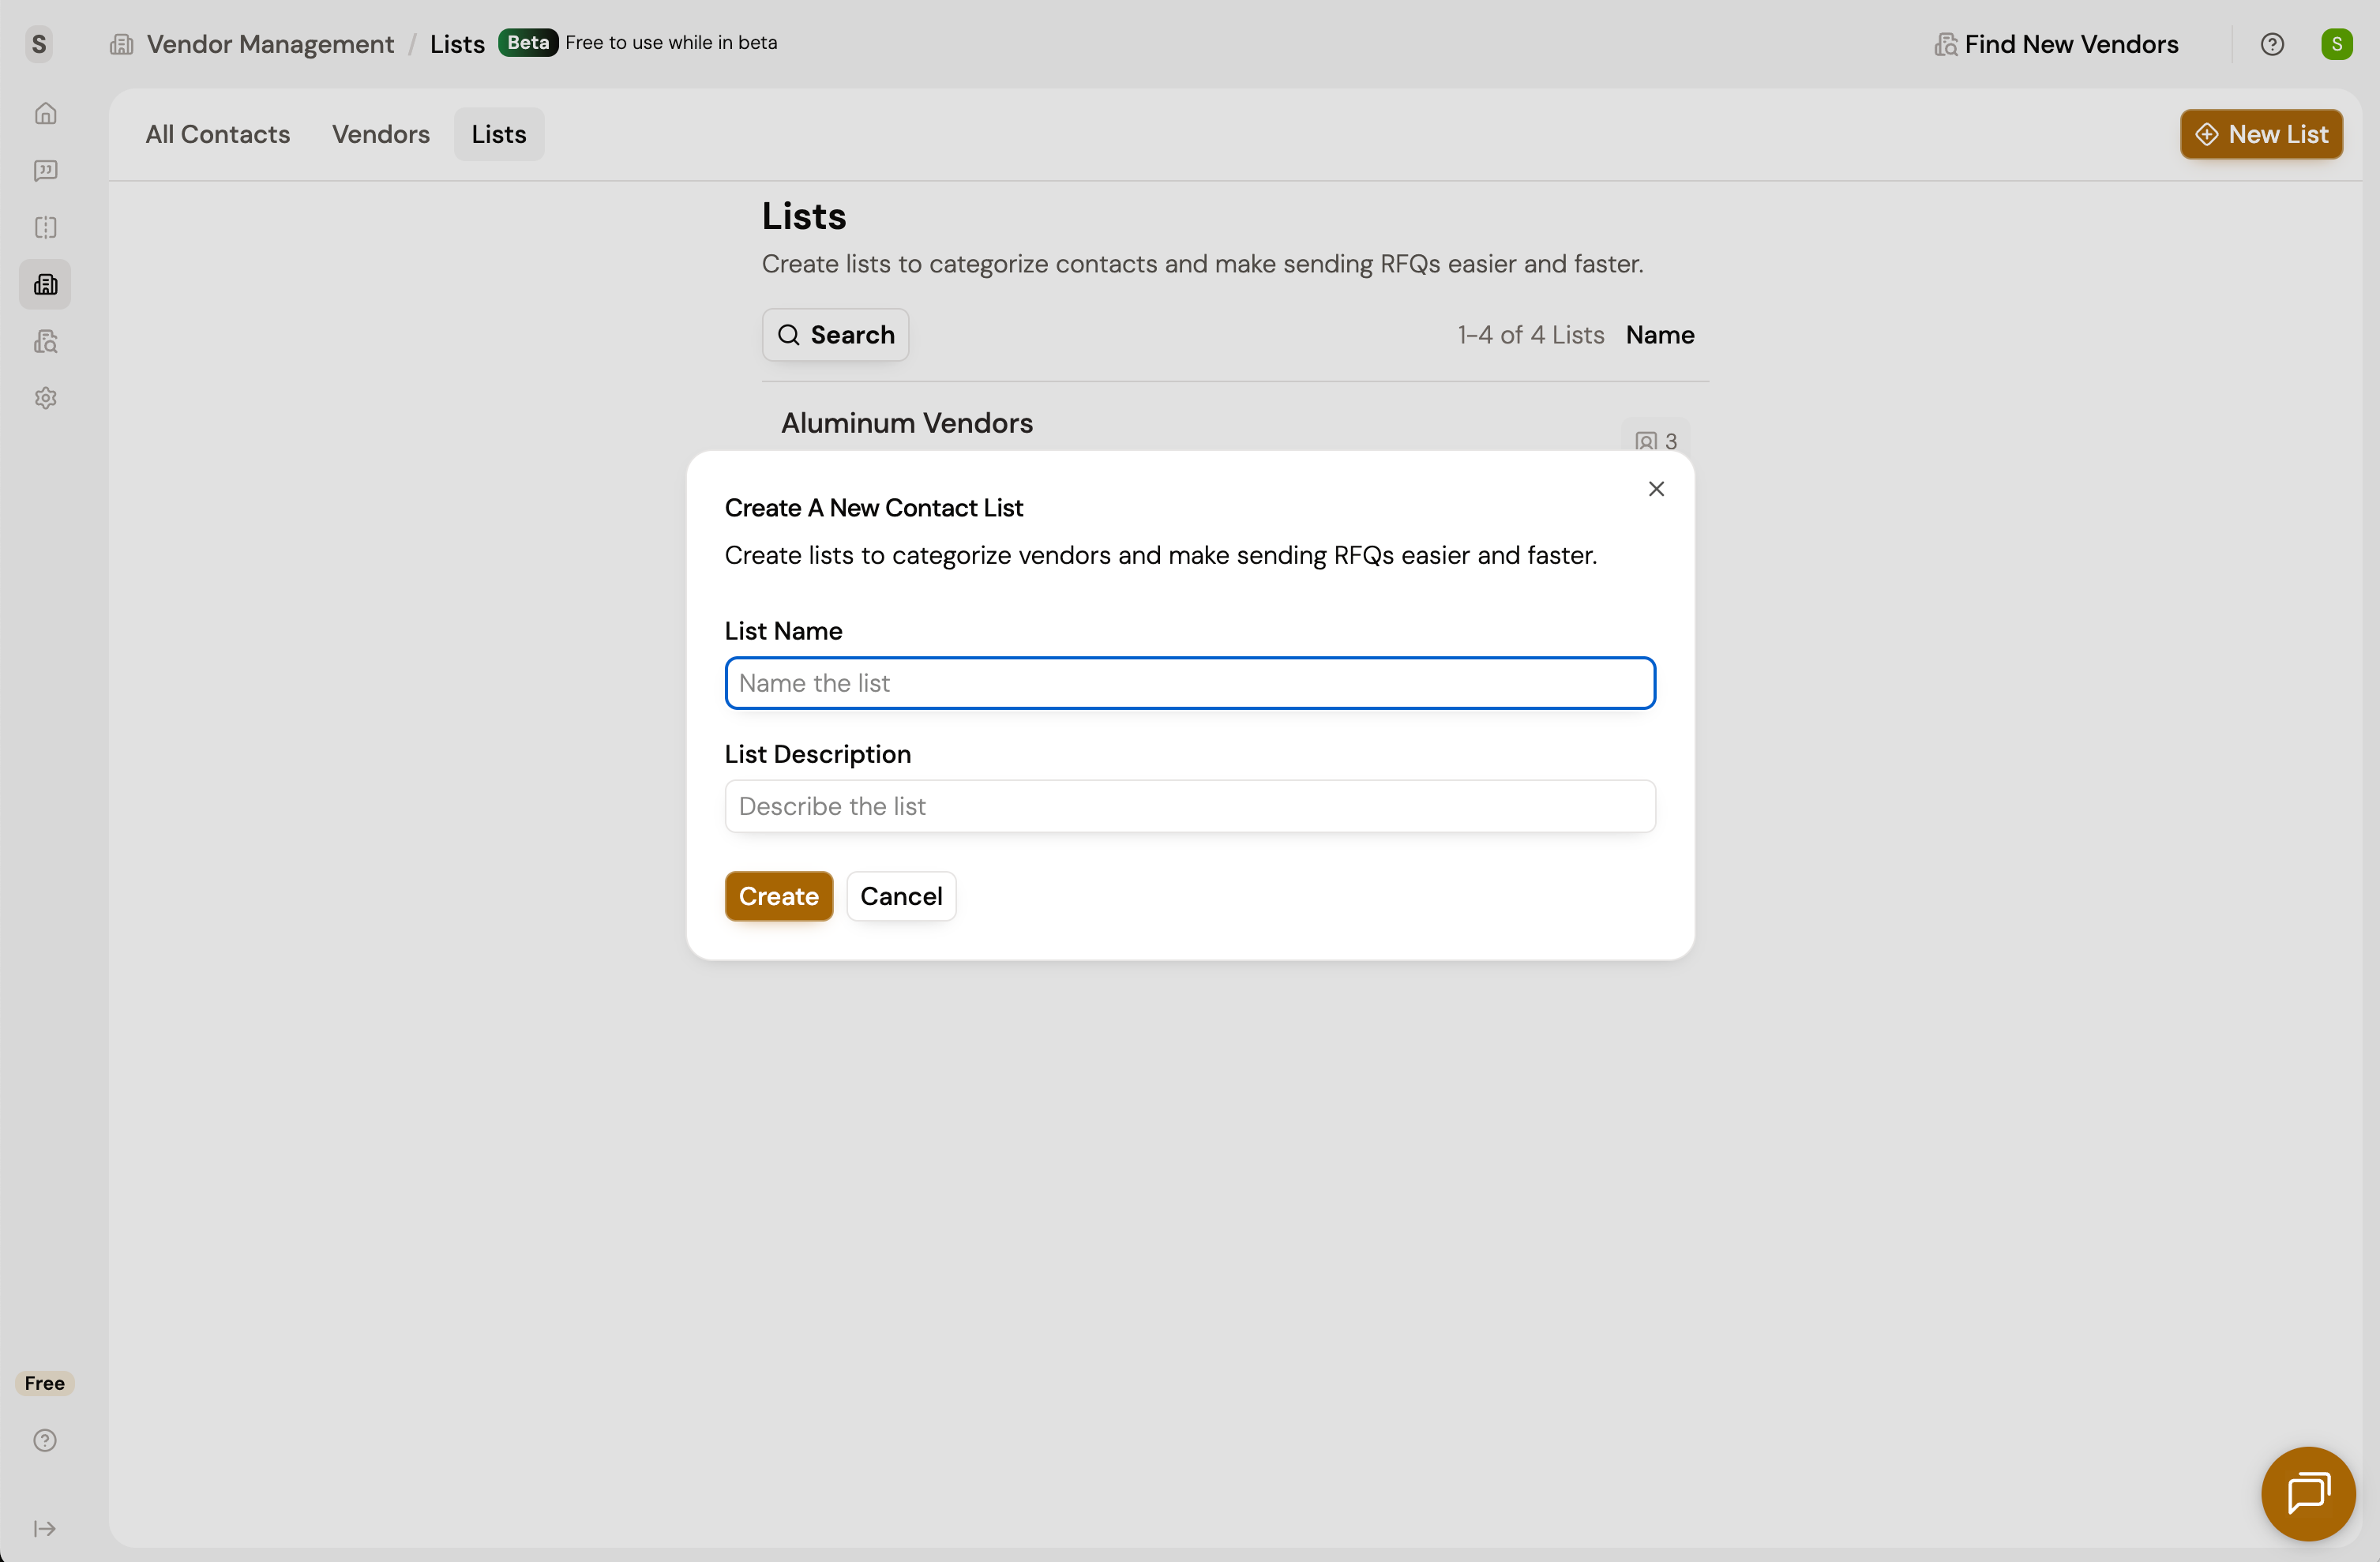
- Click New List.
- Name your list. This could be as specific or as general as you want. E.g. "Metal Suppliers", "Local Aluminum Tube Suppliers", "Vendors in the NorthEast with ITAR Certifications".
Add Contacts to a List
Now that you have a list, it's time to add contacts to that list. There are a few different ways to add contacts to a list.
Option 1: From Individual Contacts
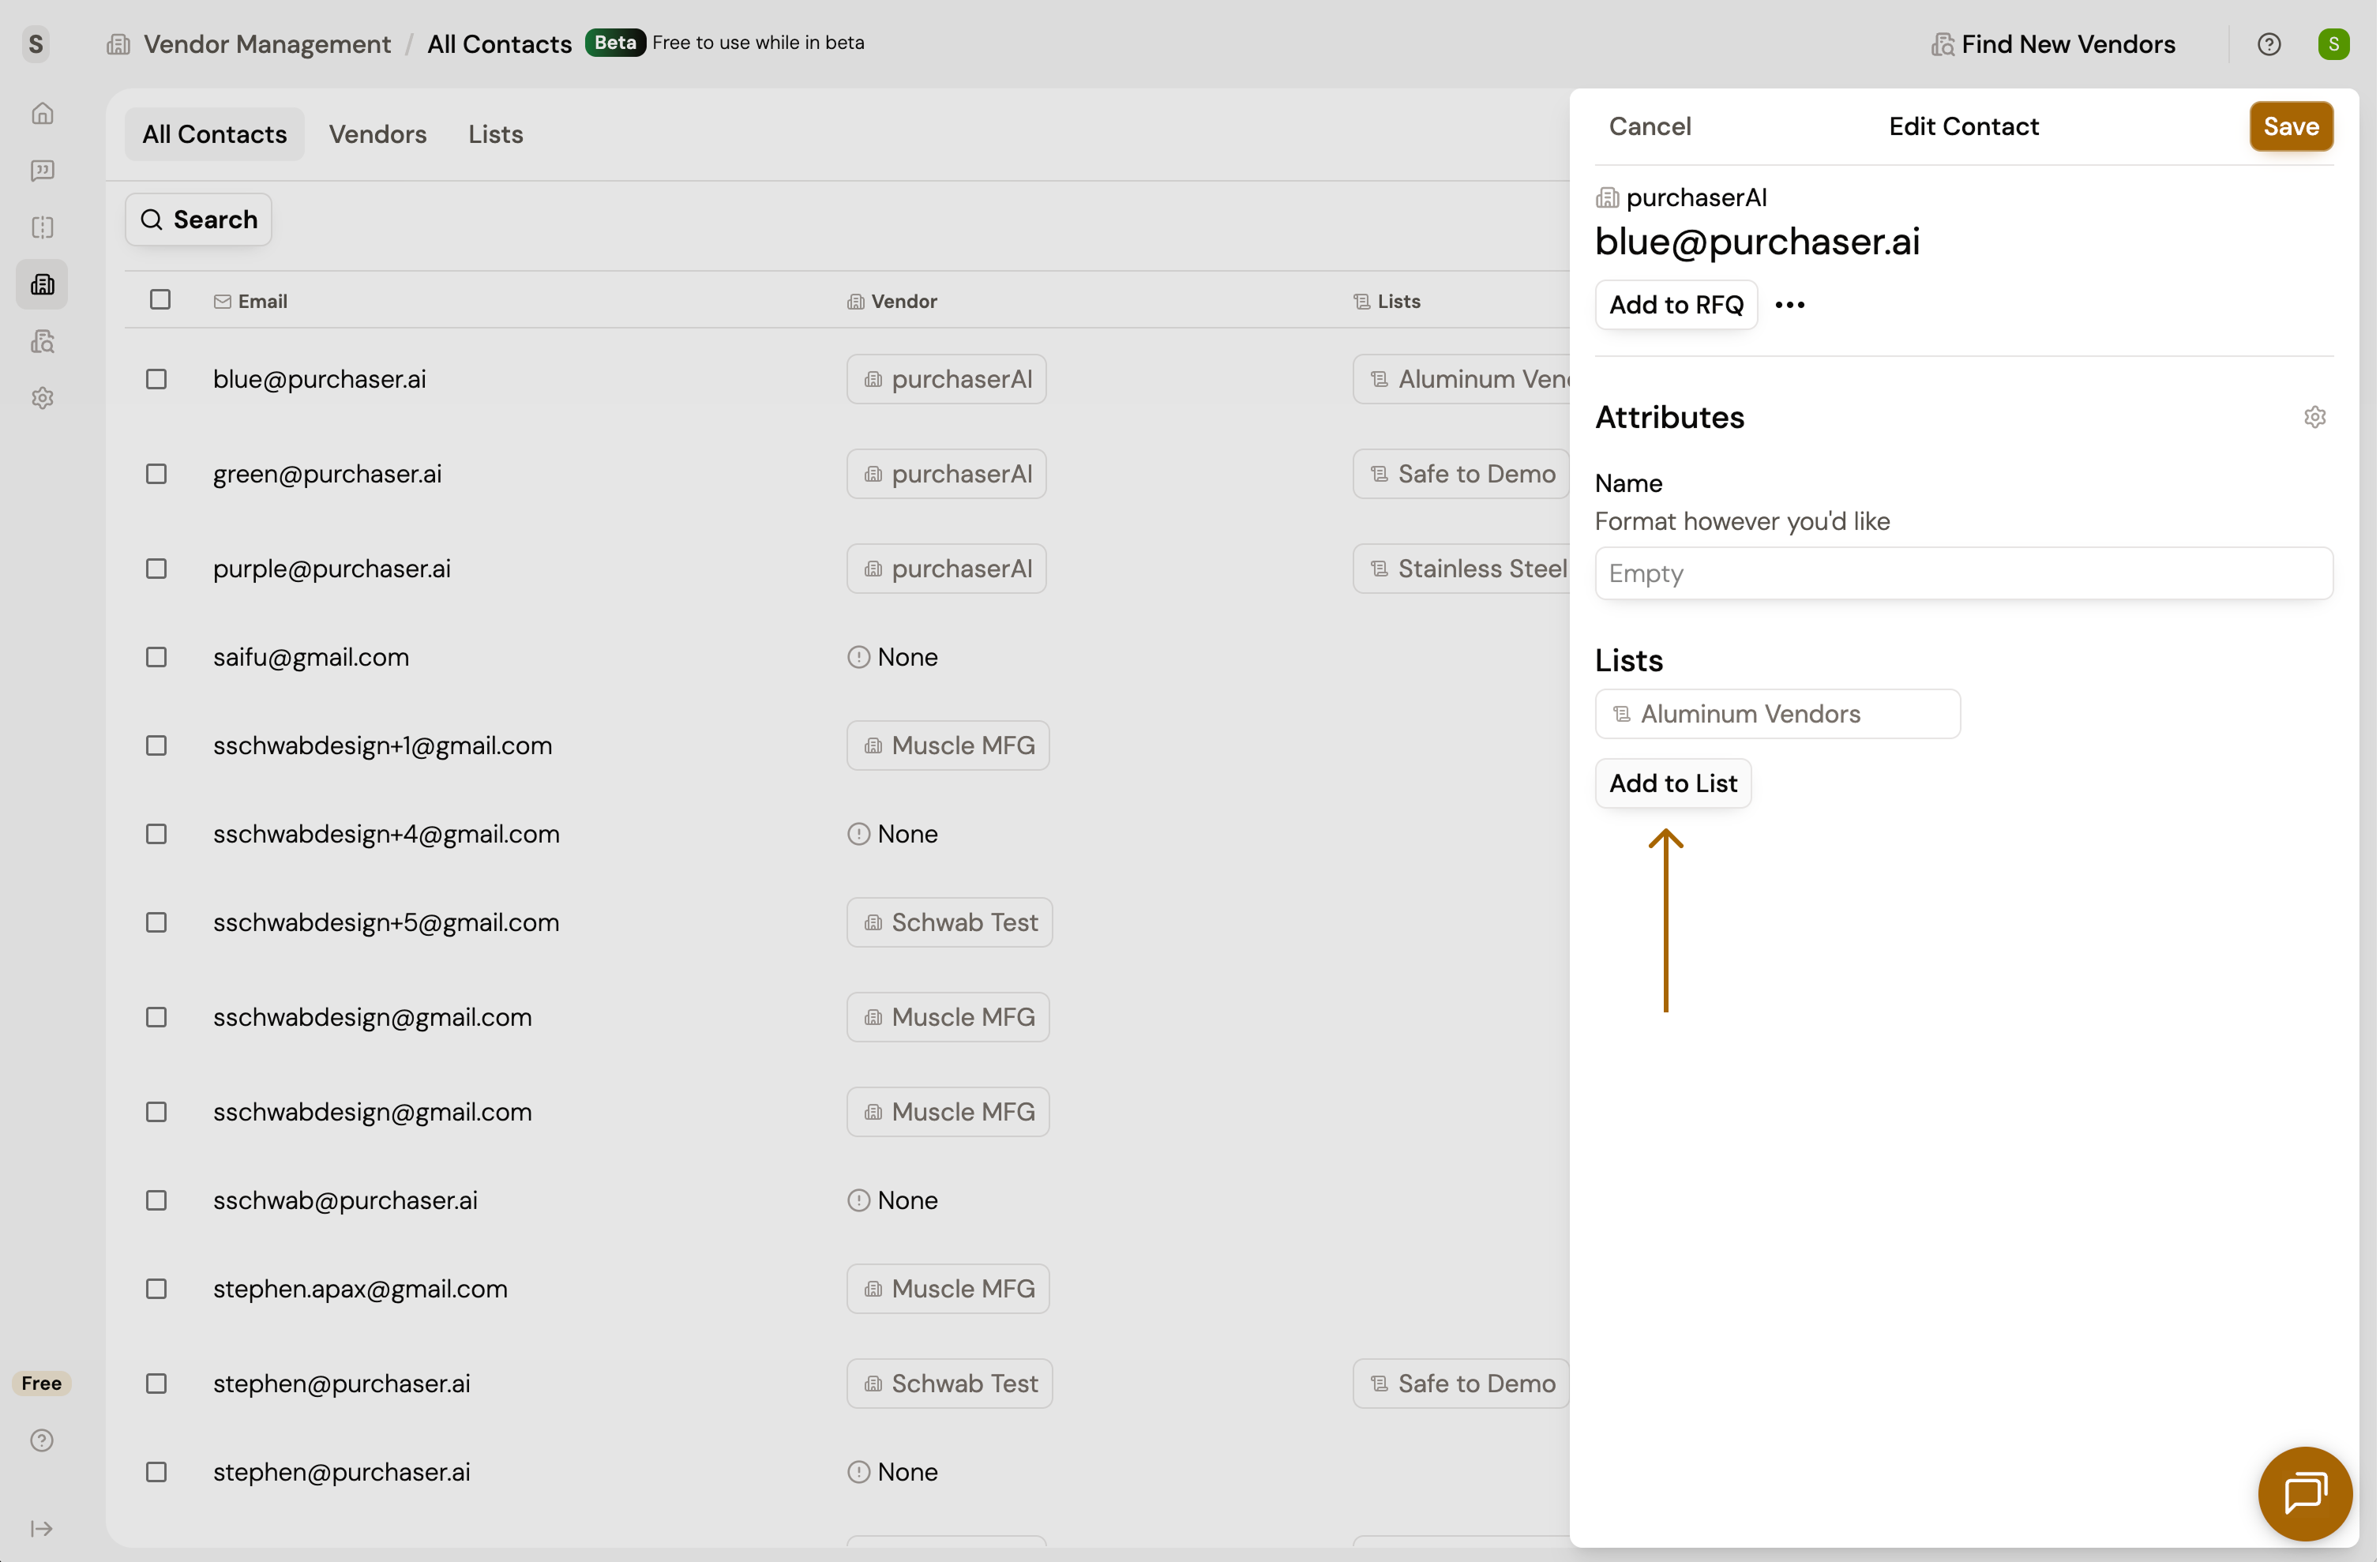
- Navigate to All Contacts.
- Click on a contact to show the Contact Details slideout.
- In the slideout, look for the Lists section. Click Add to List
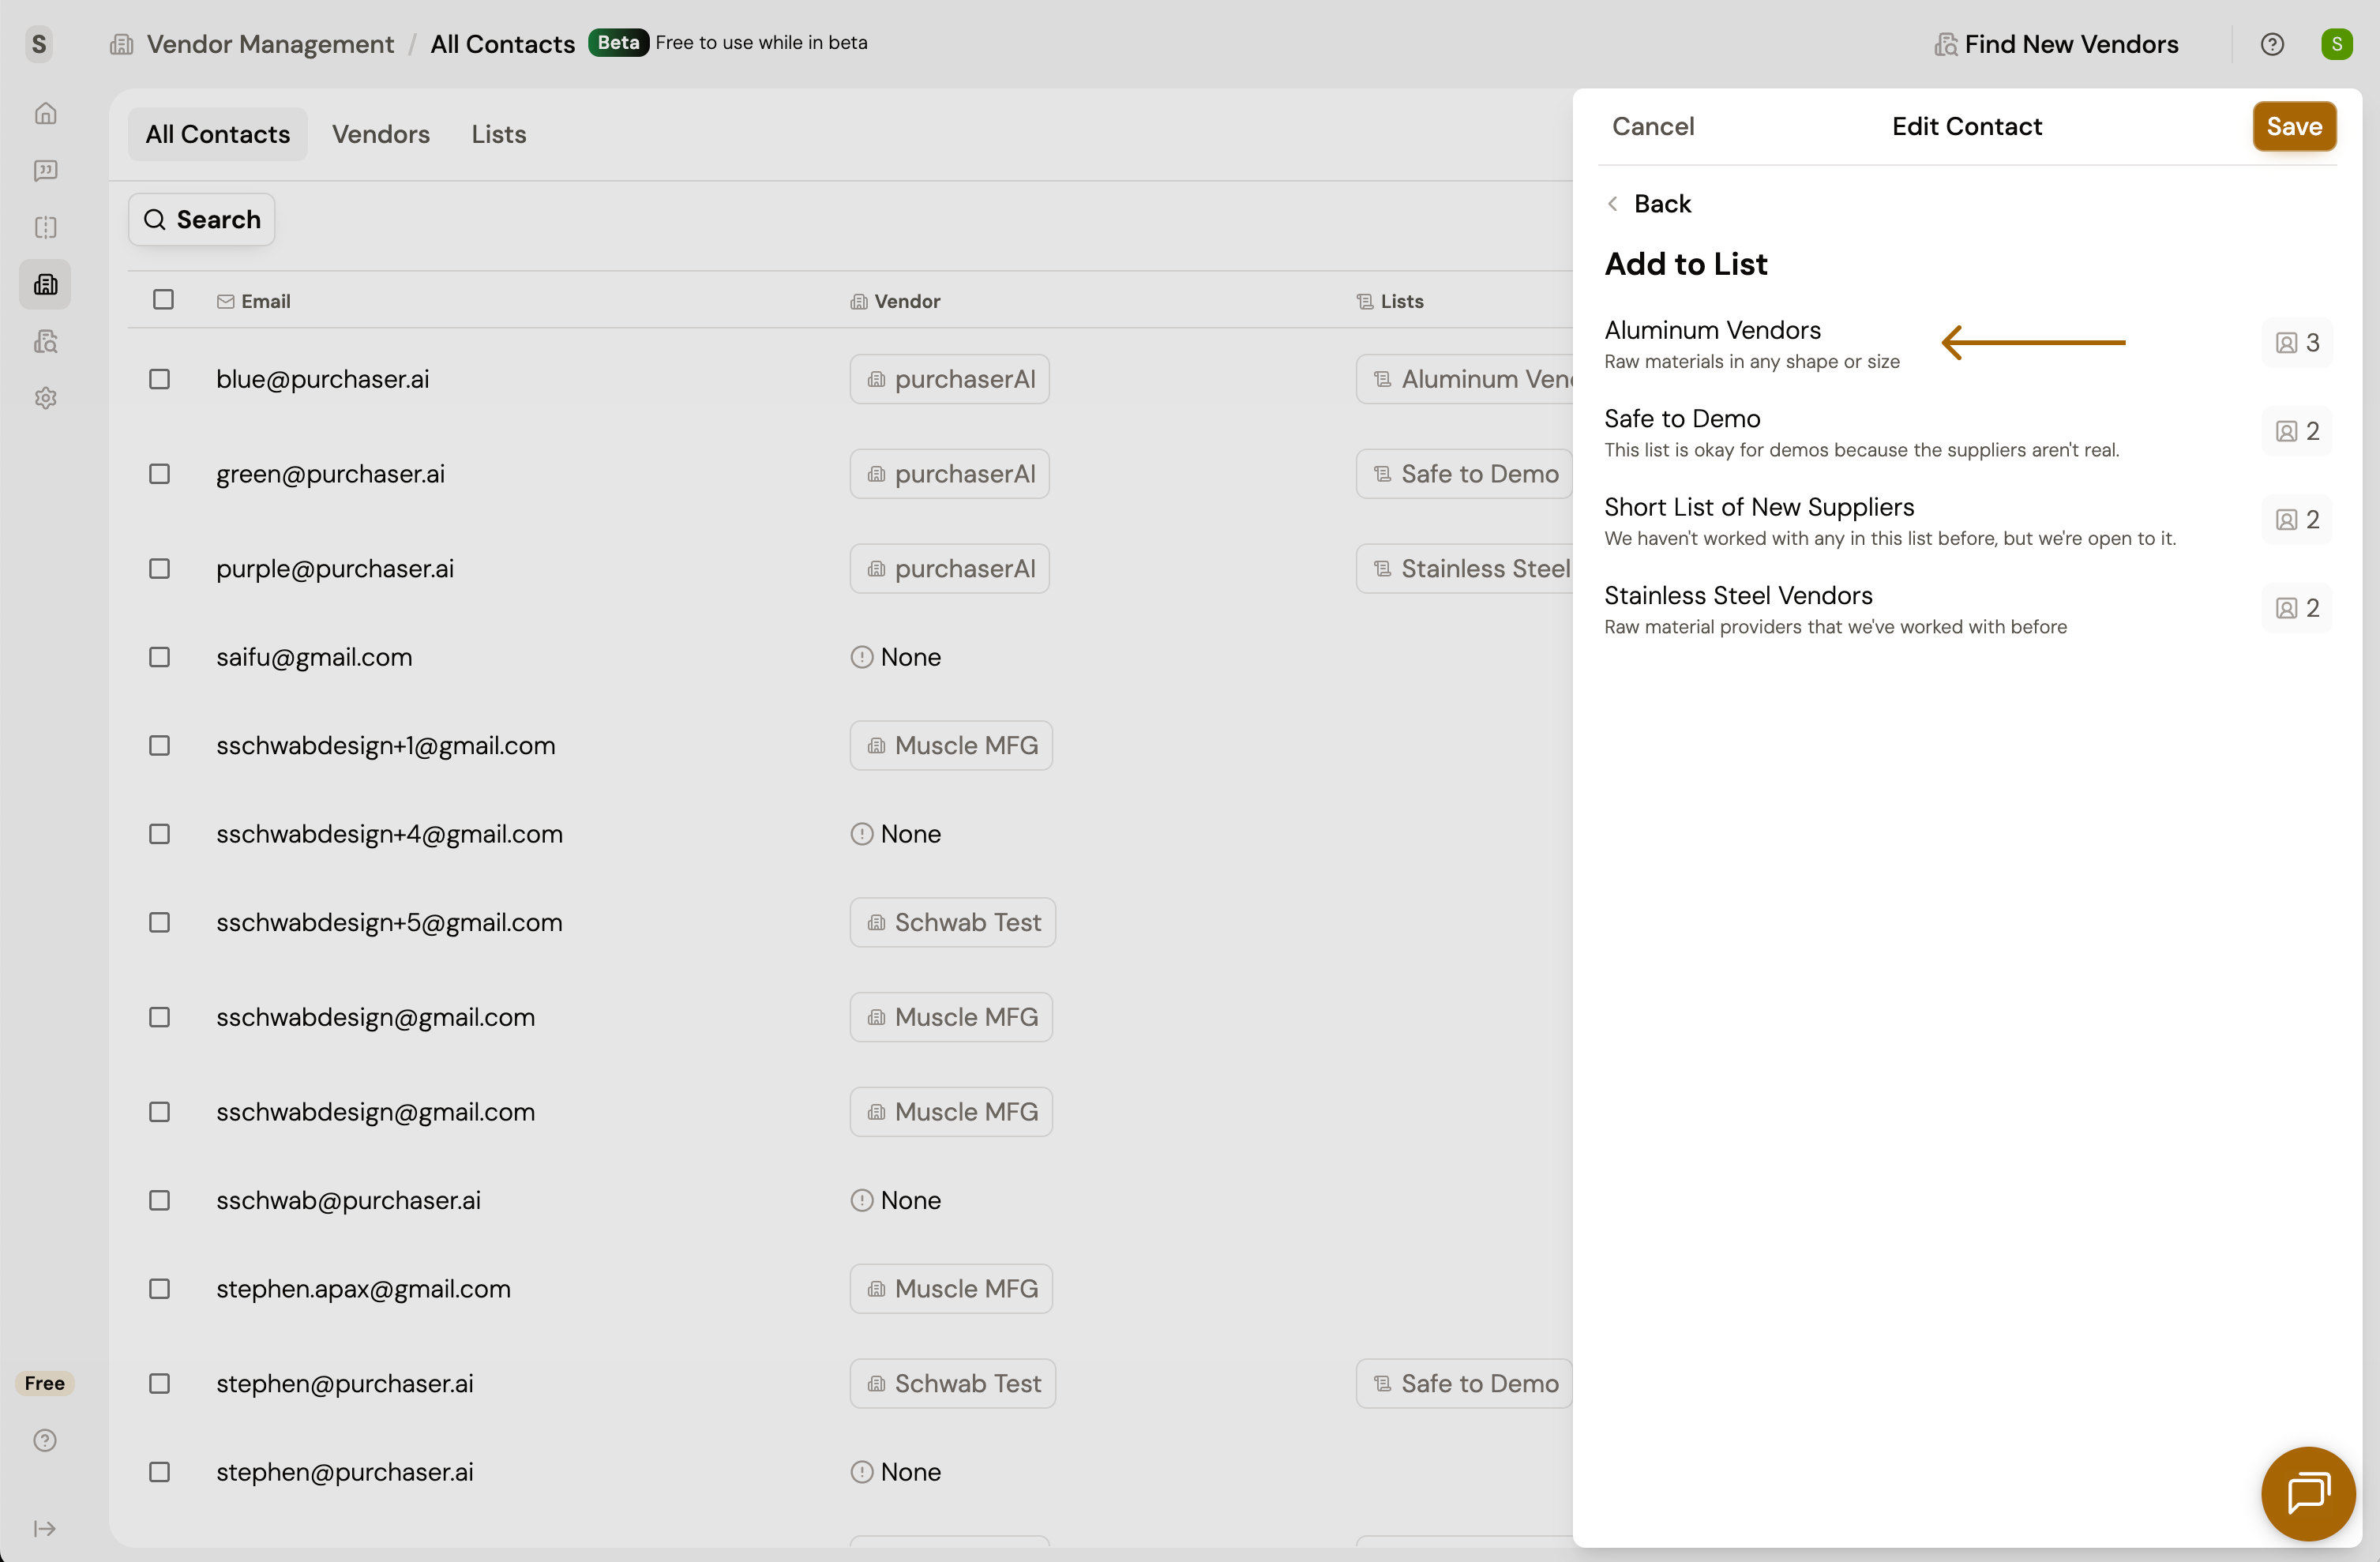
- Find and click on the desired list. A confirmation message will confirm that the contact has been added to the list.
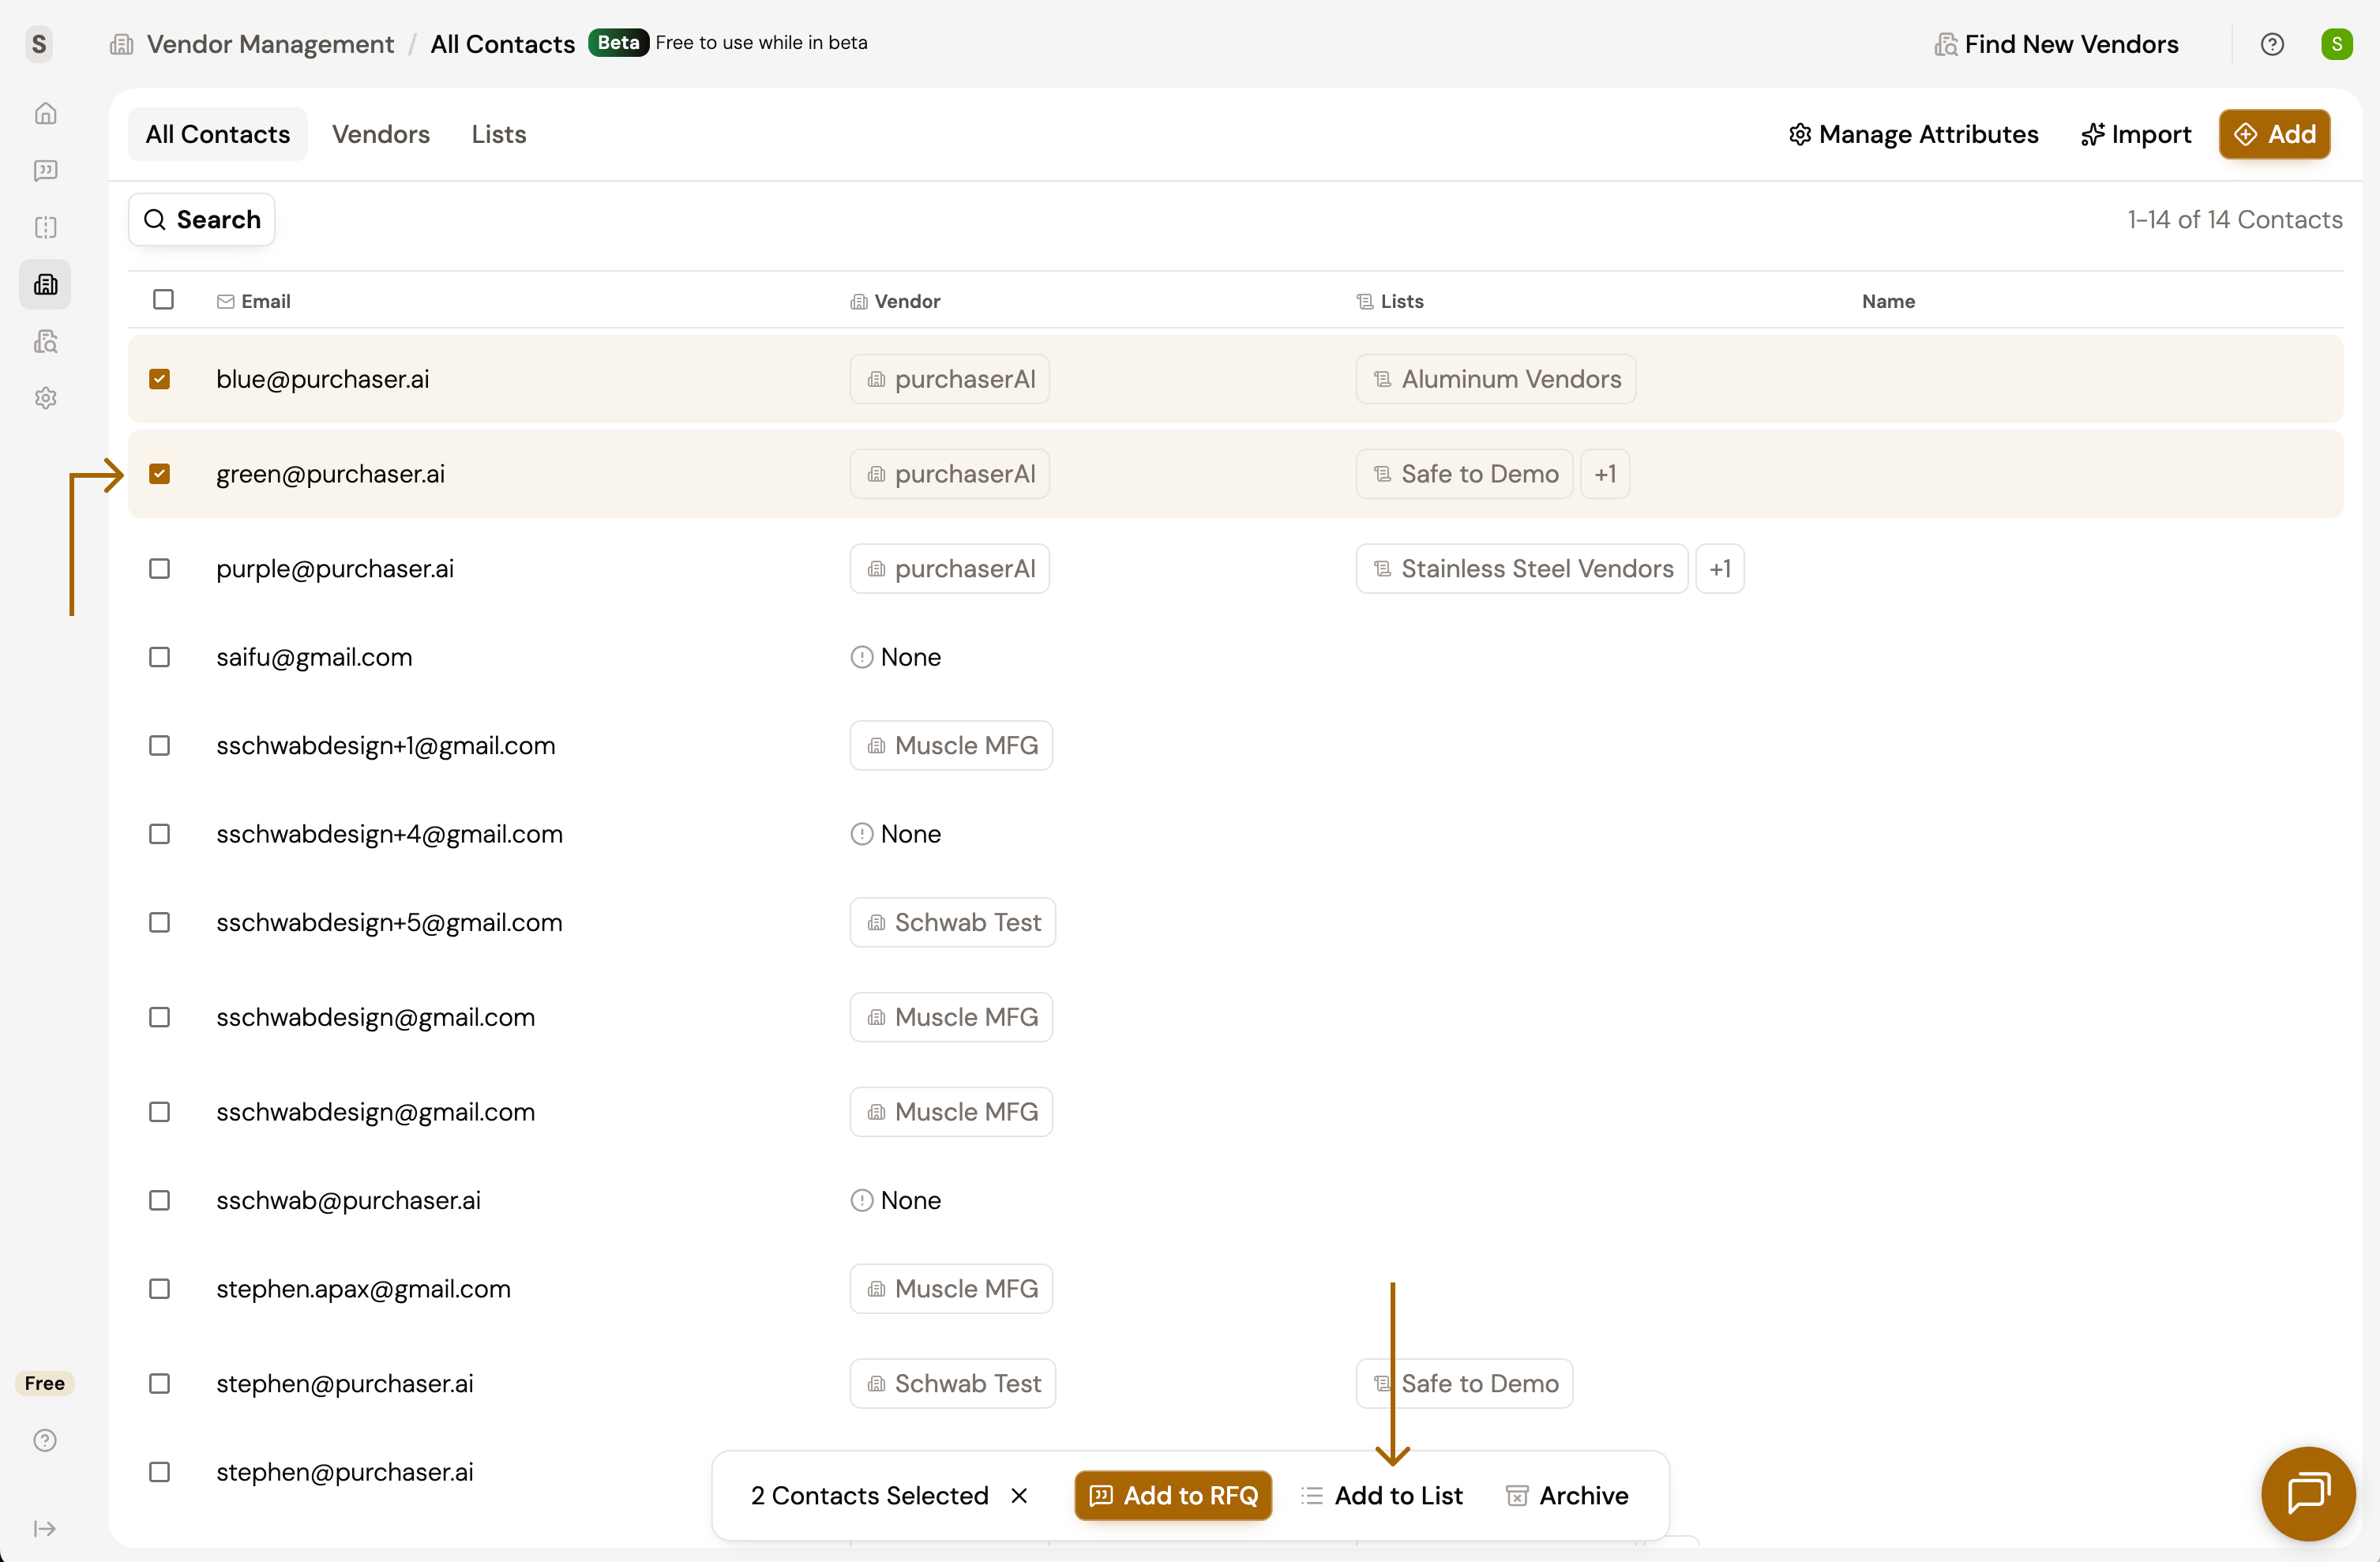
Option 2: Multi-Select Contacts
- Navigate to All Contacts.
- Select one or multiple contacts by clicking the checkbox to the left of your desired contacts.
- An action bar will appear at the bottom of the page. Click Add to List.
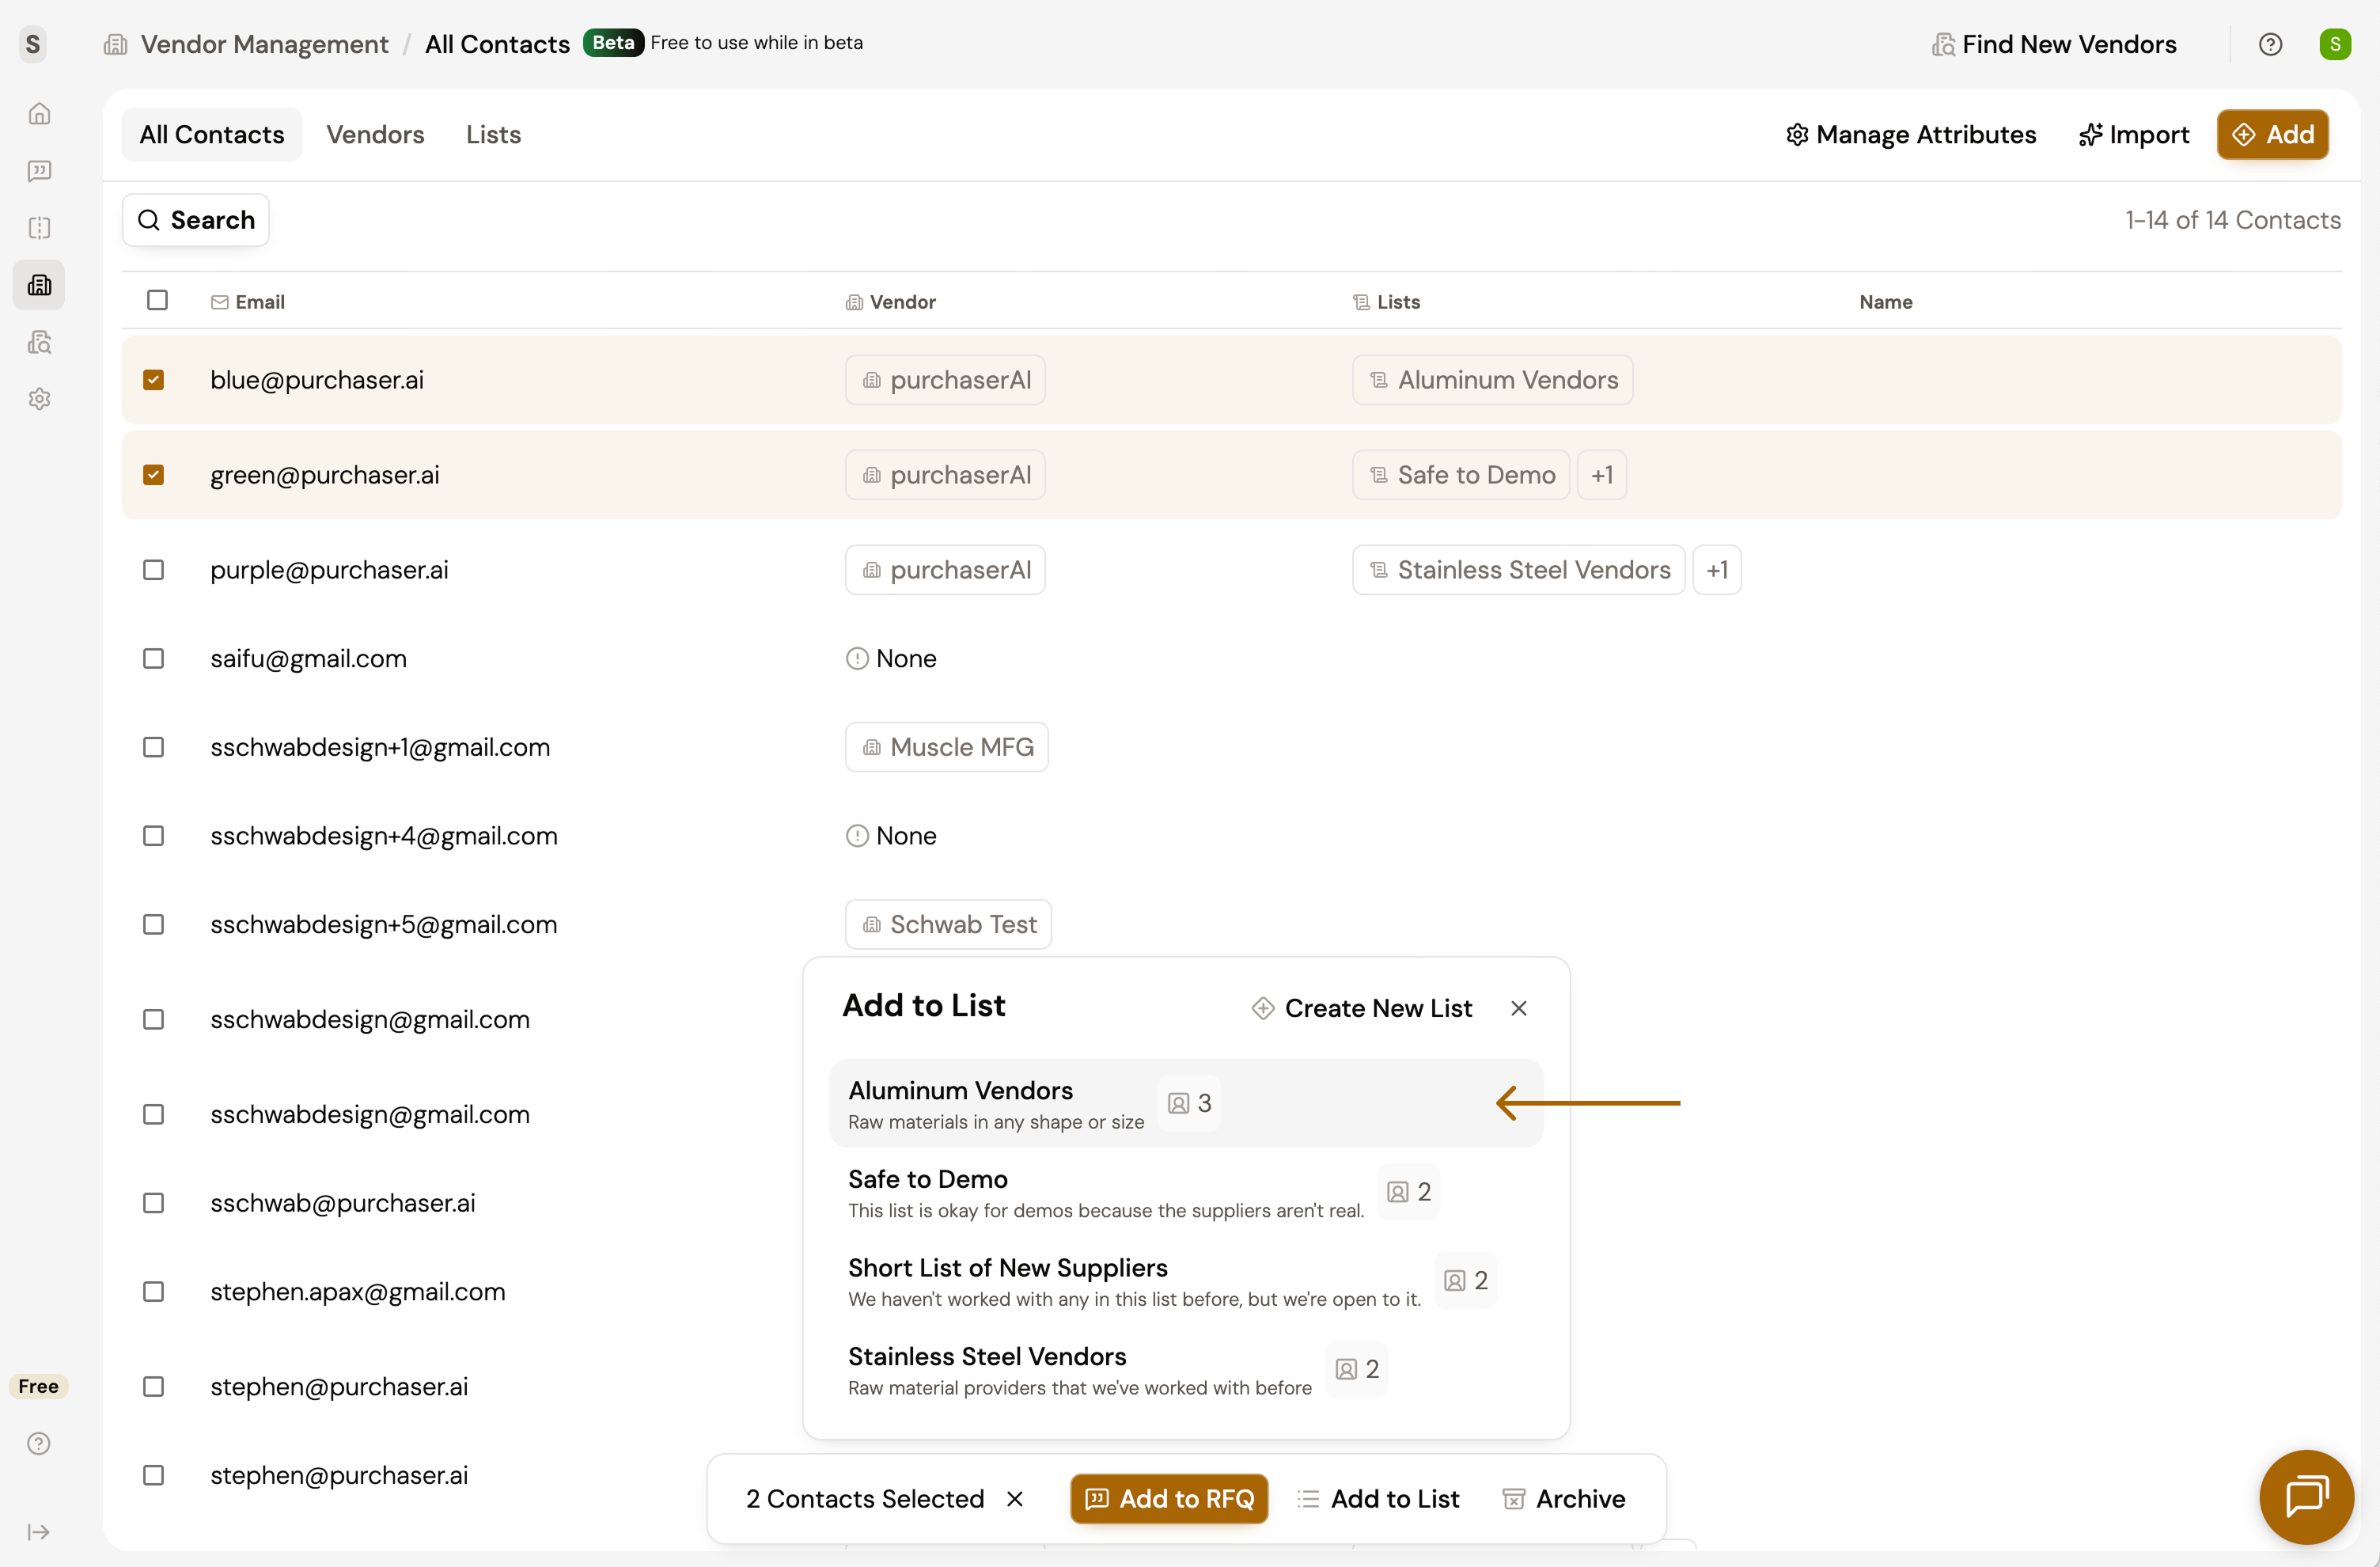
- Find and click on the desired list. A confirmation message will confirm that the contact has been added to the list.* Note that there's also an option here to create a new List.
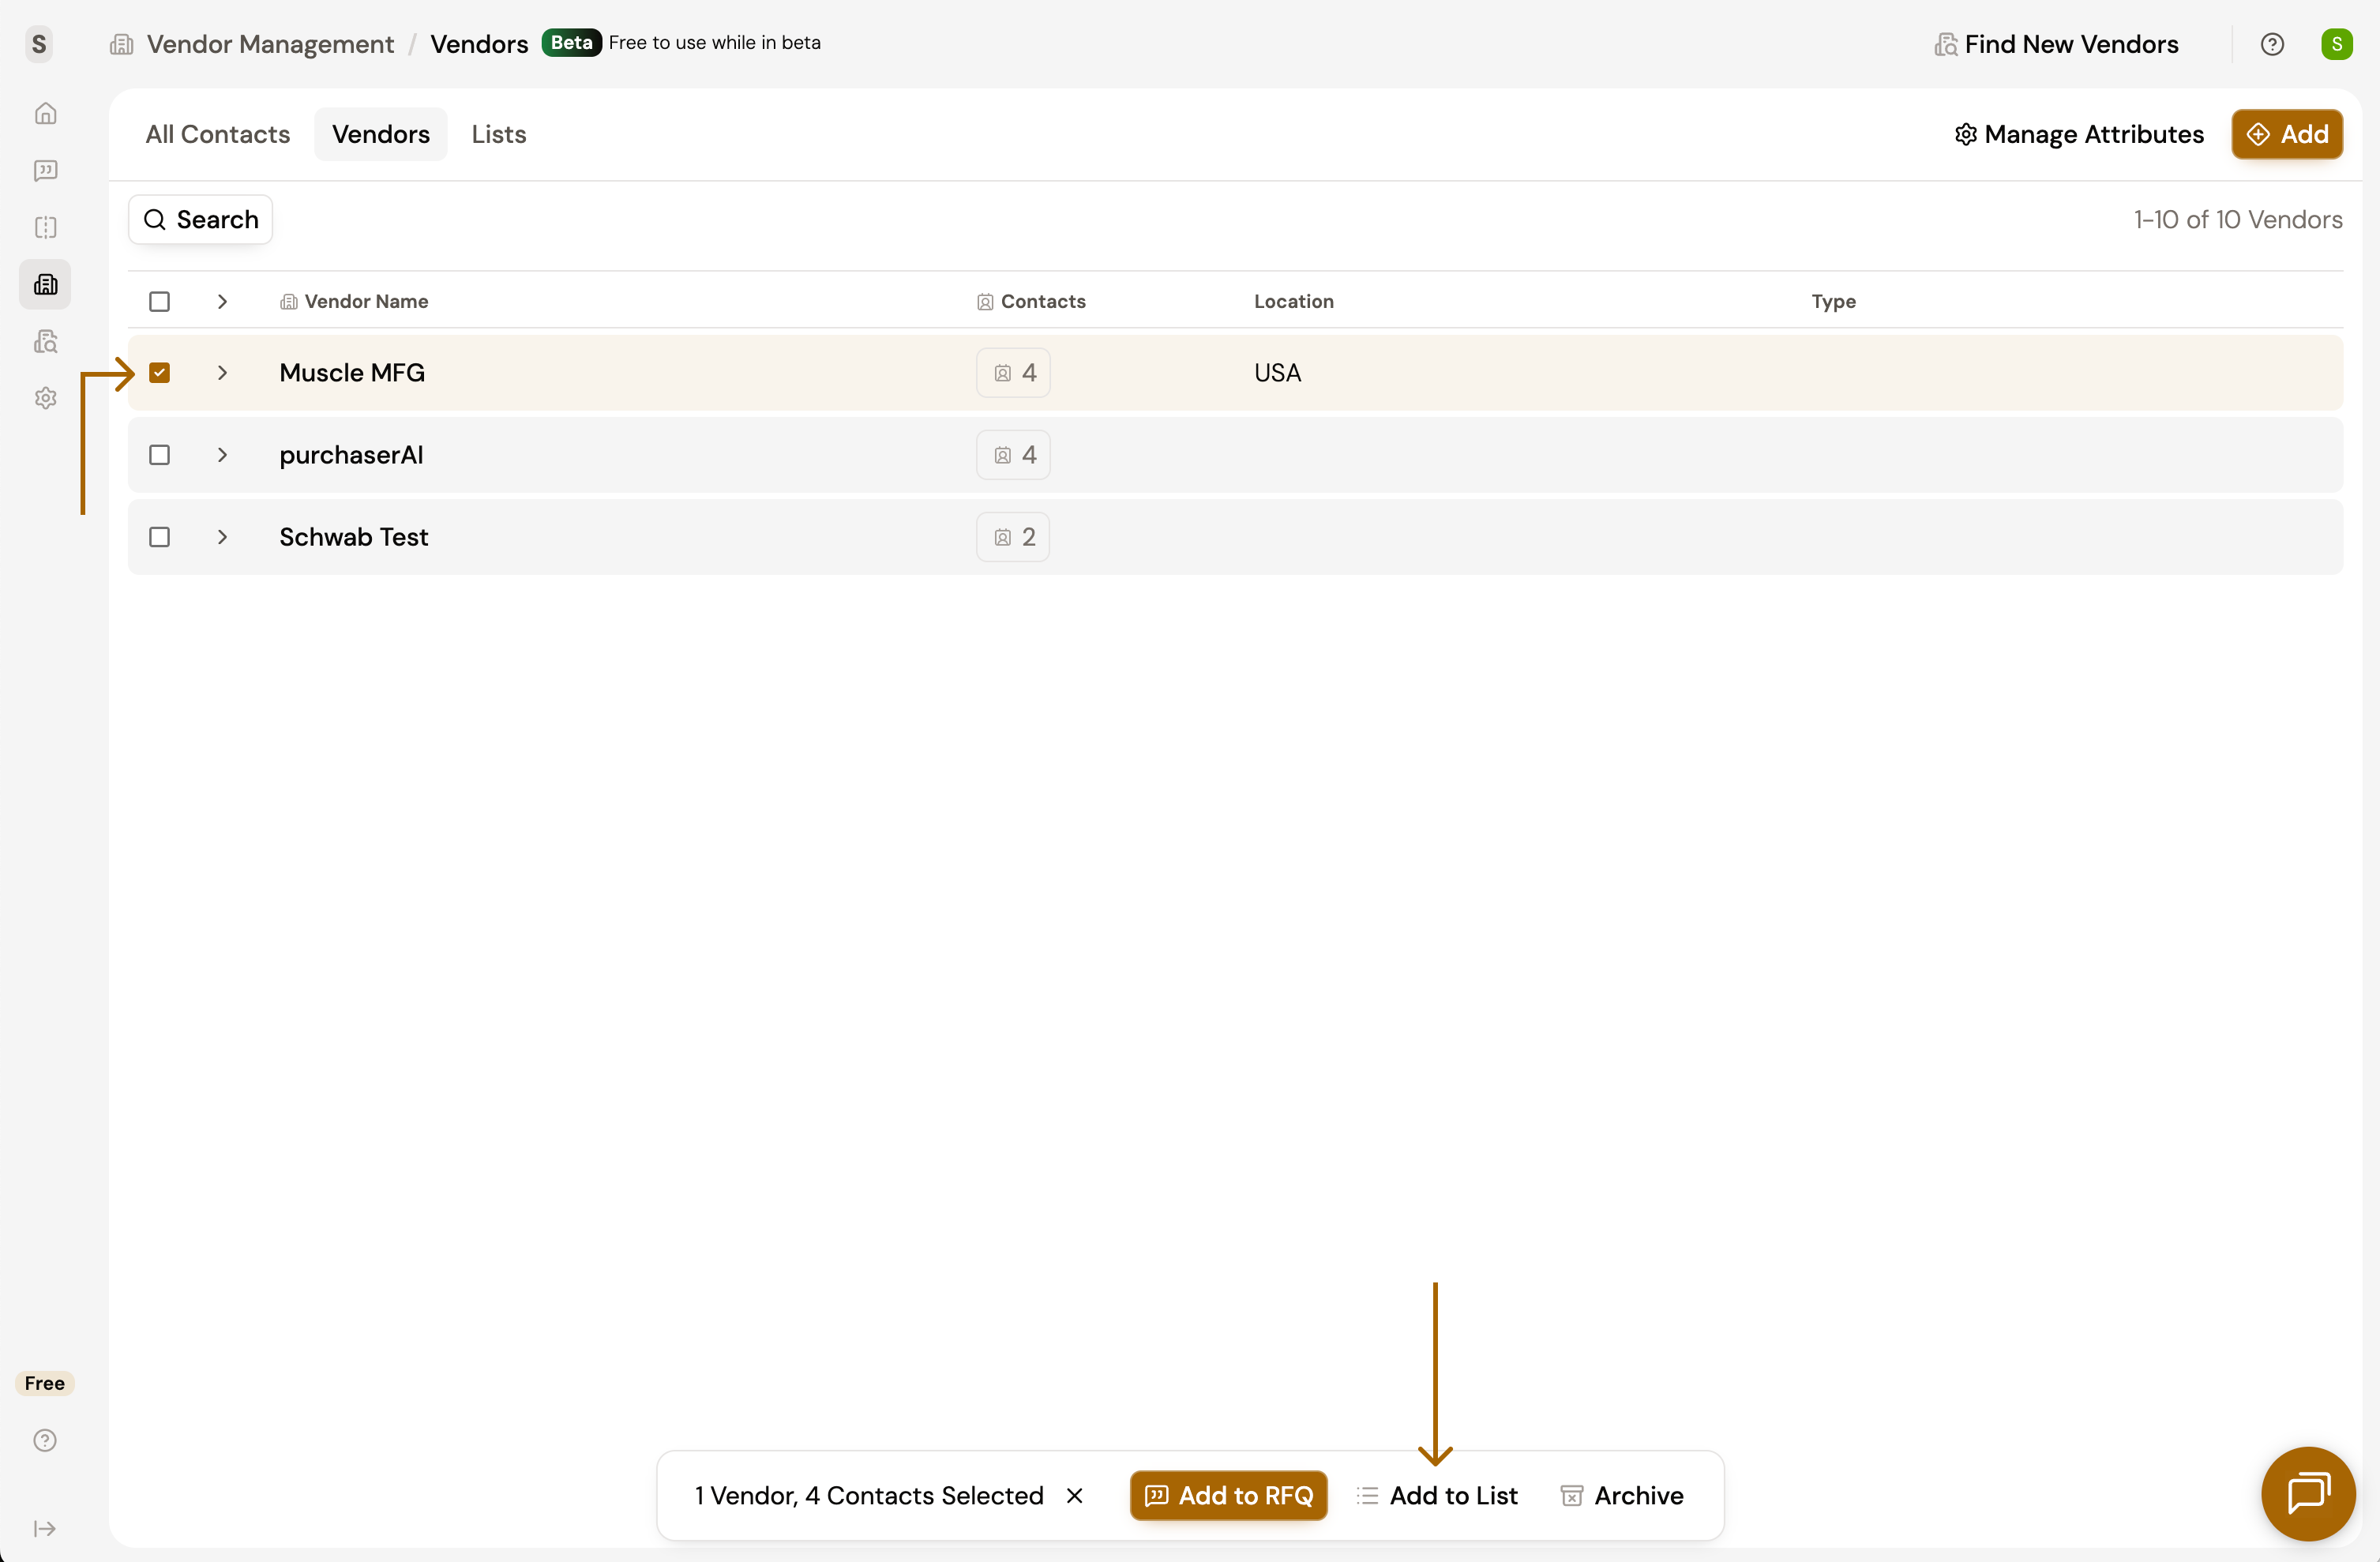
Option 3: From Vendor Contacts
- Navigate to Vendors.
- Select one or multiple vendors/contacts by clicking the checkbox to the left of your desired items.
- An action bar will appear at the bottom of the page. Click Add to List. Notice that if you have multiple contacts in one vendor, all contacts will be selected if you select the parent vendor.
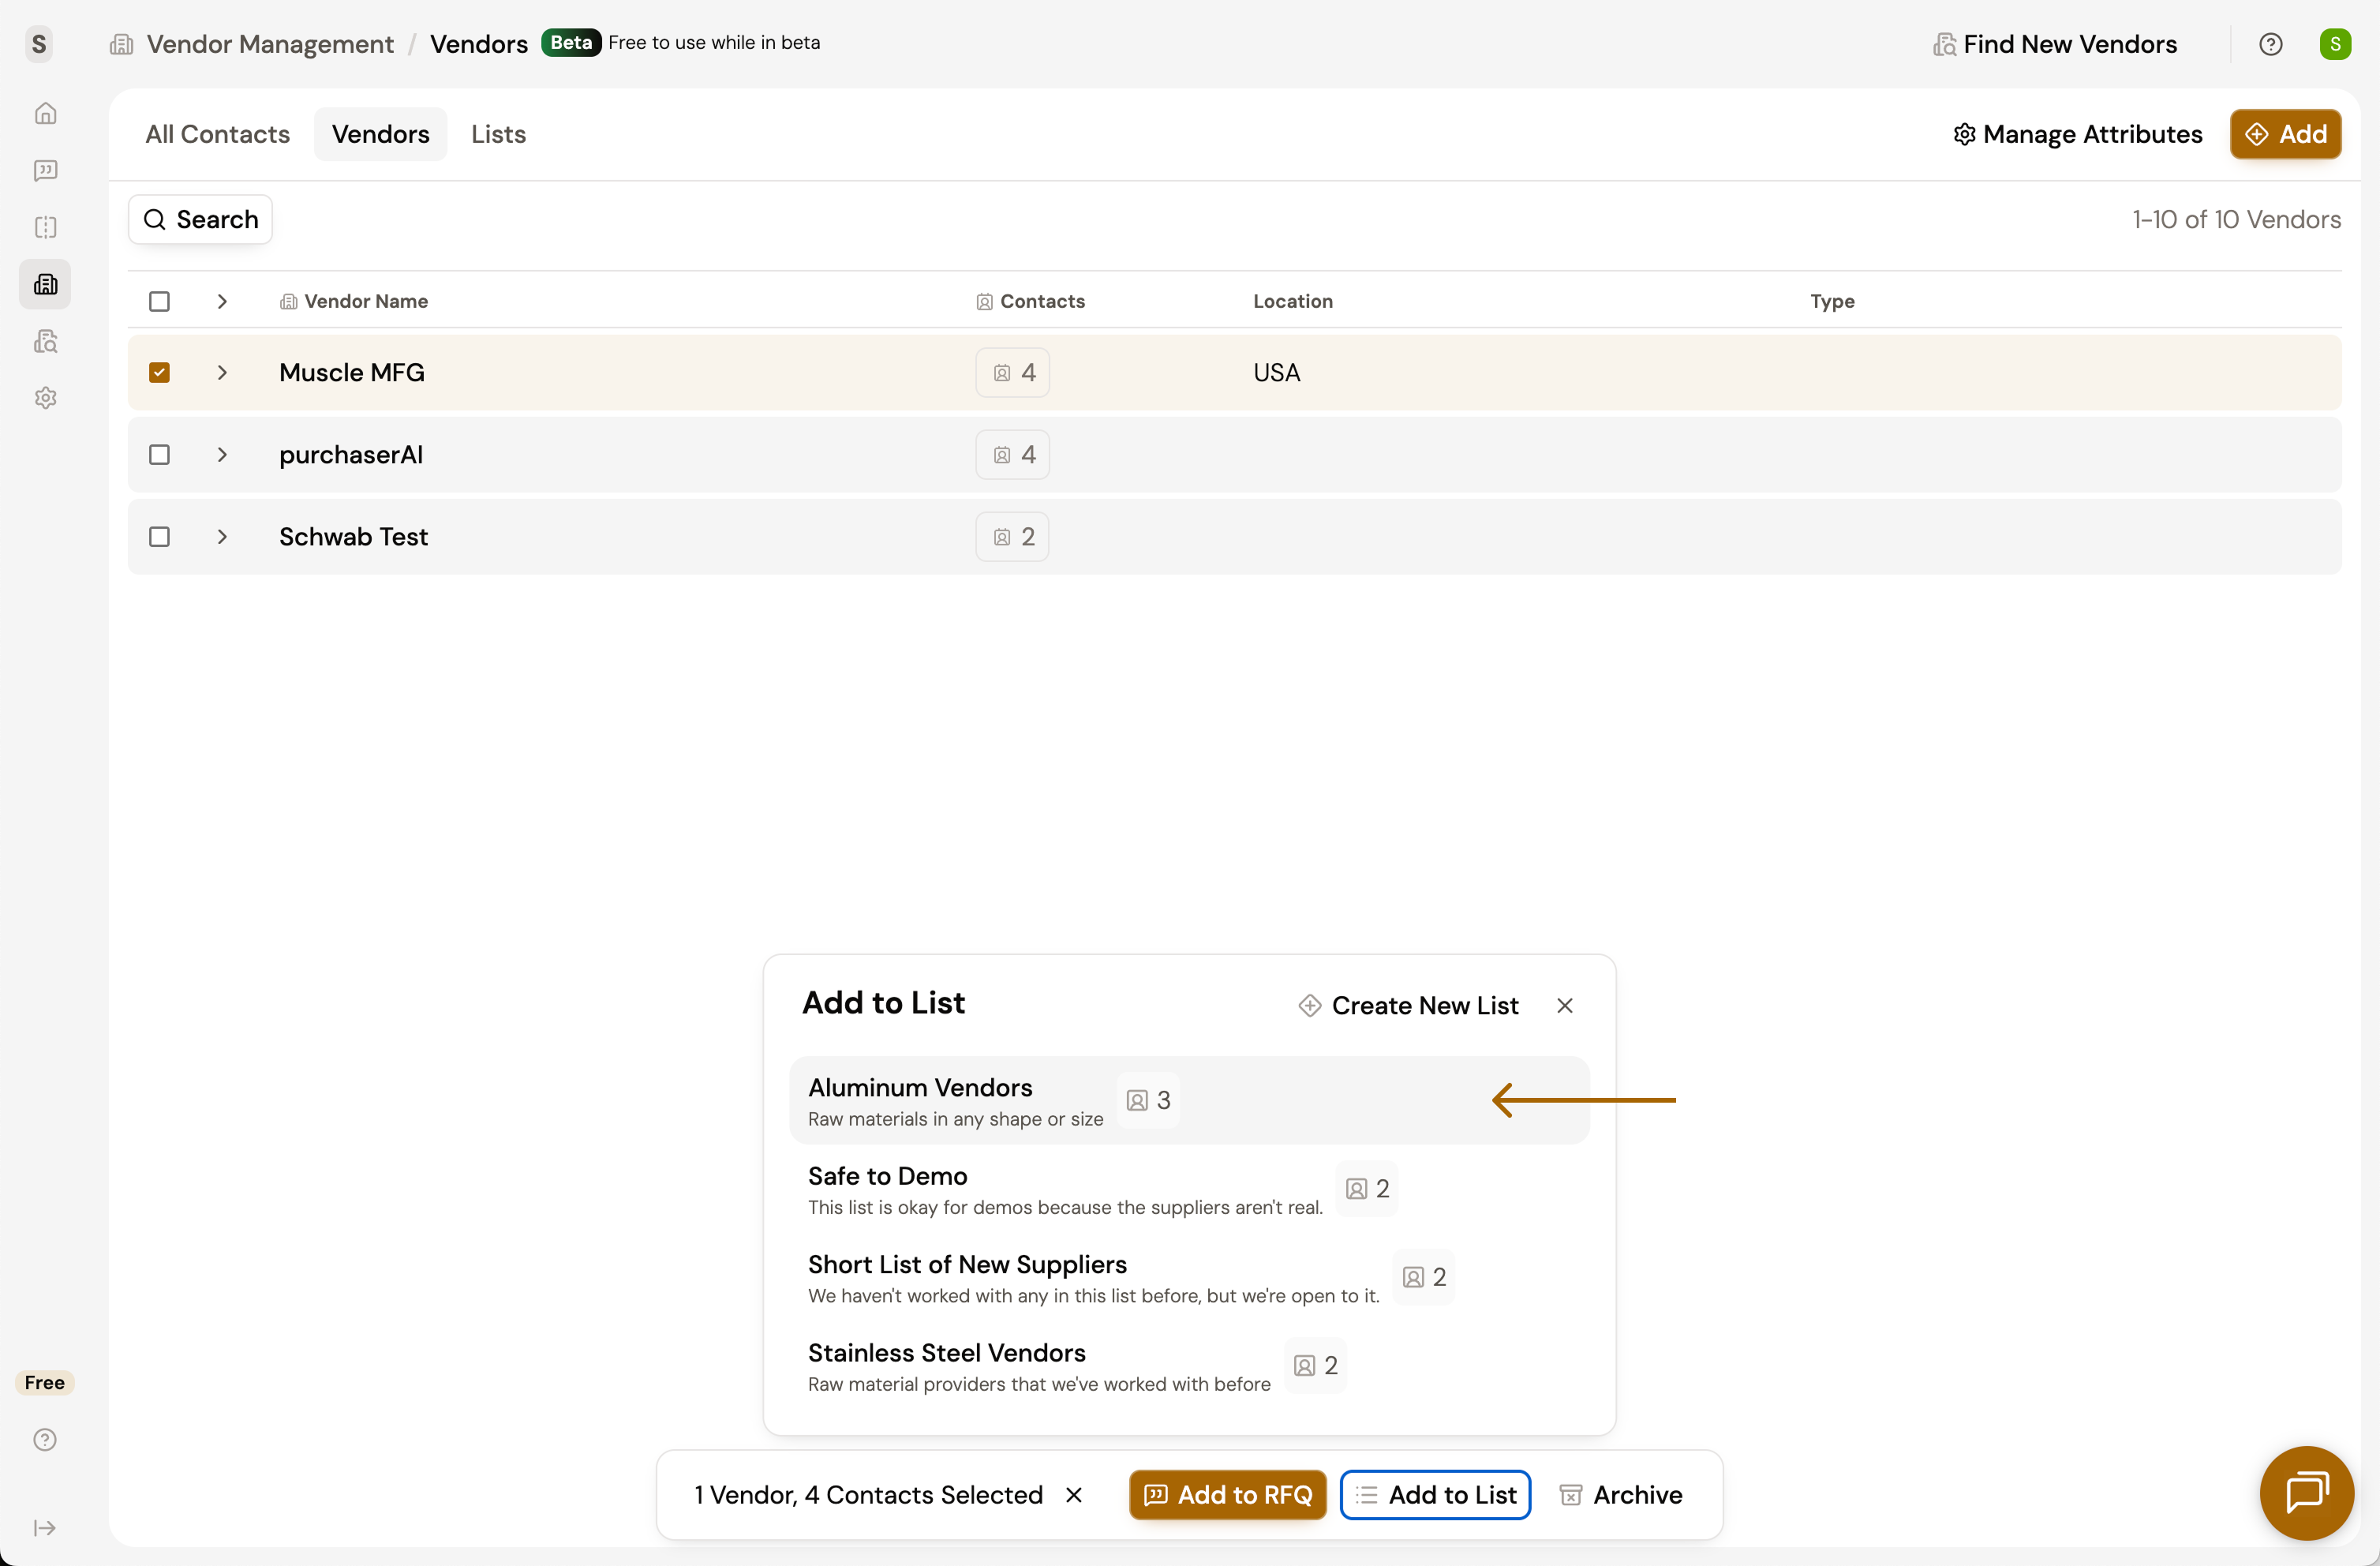
- Find and click on the desired list. A confirmation message will confirm that the contacts have been added to the list.* Note that there's also an option here to create a new List.
Use Lists to Send RFQs
Now that you have lists, and contacts in those lists, you can quickly add lists to RFQs
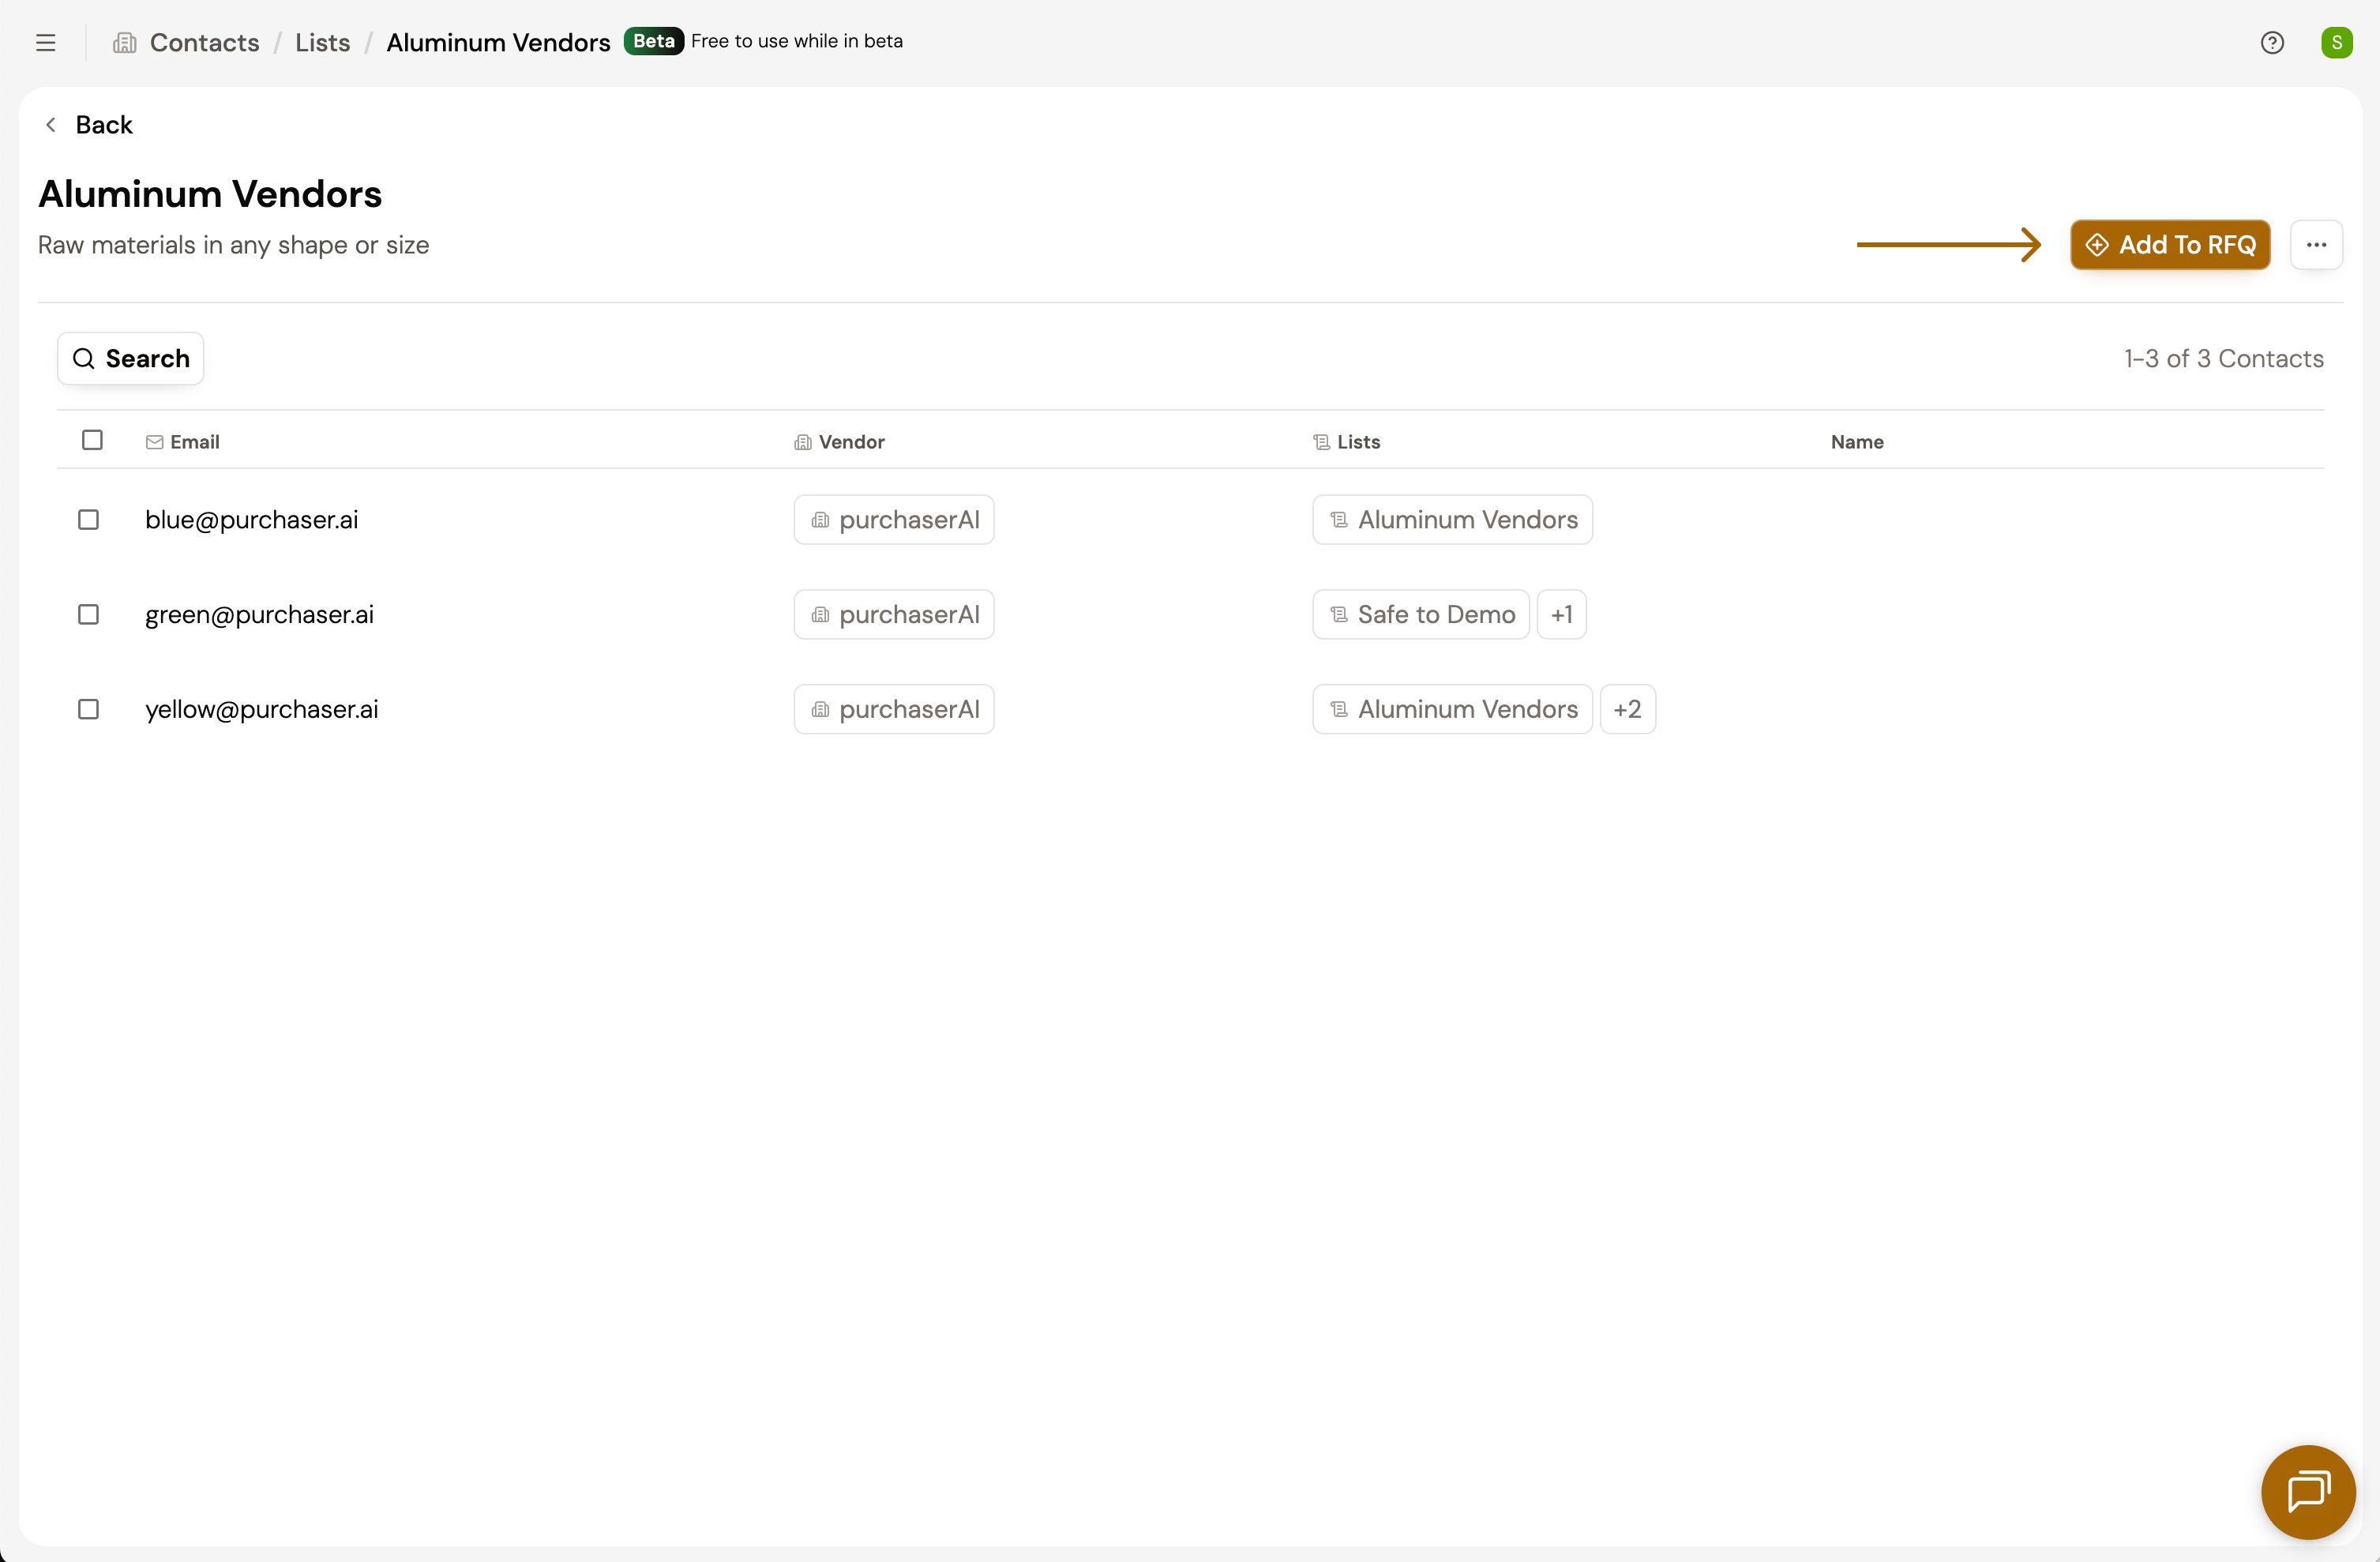
- Navigate to Vendor Management > Lists
- Select your desired list.
- Click Add to RFQ in the upper right. This will add all the contacts in the list to the RFQ you choose. *If you only want to add a subset of the contacts to an RFQ, use the checkboxes to the left of the contacts and click "Add to RFQ" in the action bar near the bottom of the page.
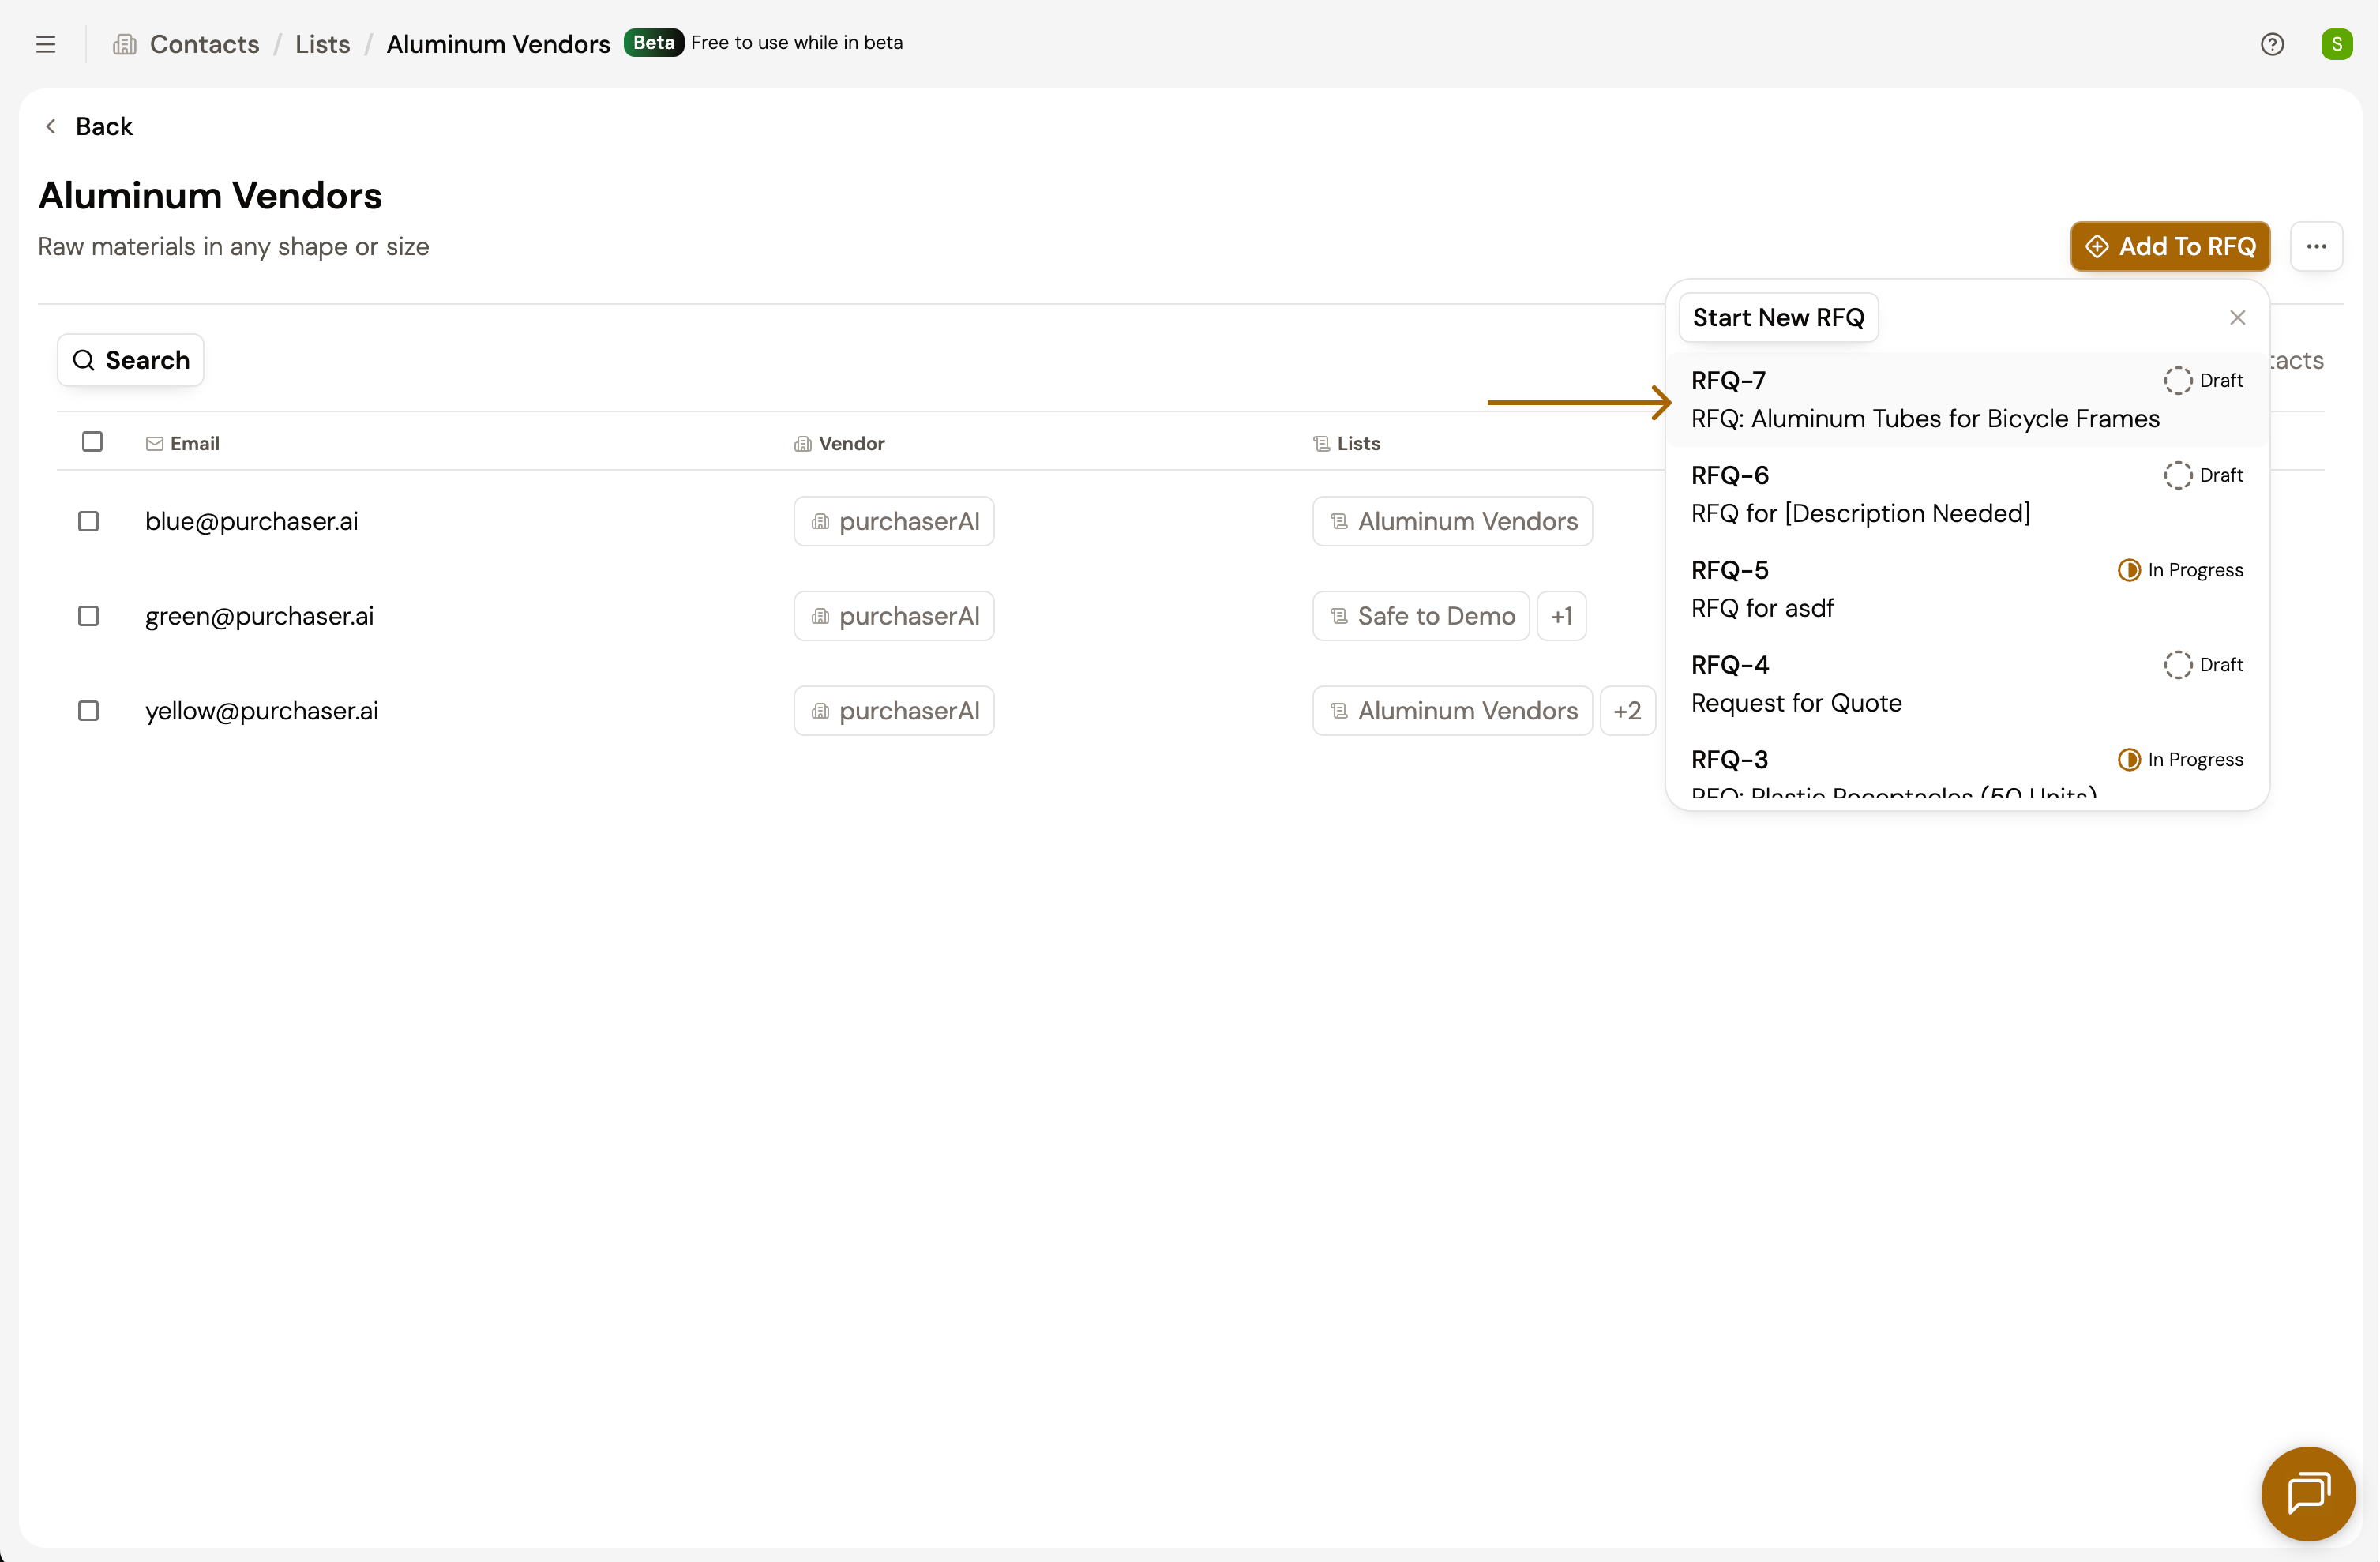
- Select an existing RFQ or create a new one. Once selected, a message will confirm that the contacts were added to that RFQ.
- Navigate to that corresponding RFQ. On the Configure and Send page, the contacts from your list will appear as recipients.
Remove Contacts from a List
- Navigate to that specific List by going to Vendor Management > Lists. You can also click the List chip on an individual contact on the All Contacts page to navigate to a List.
- Select the List
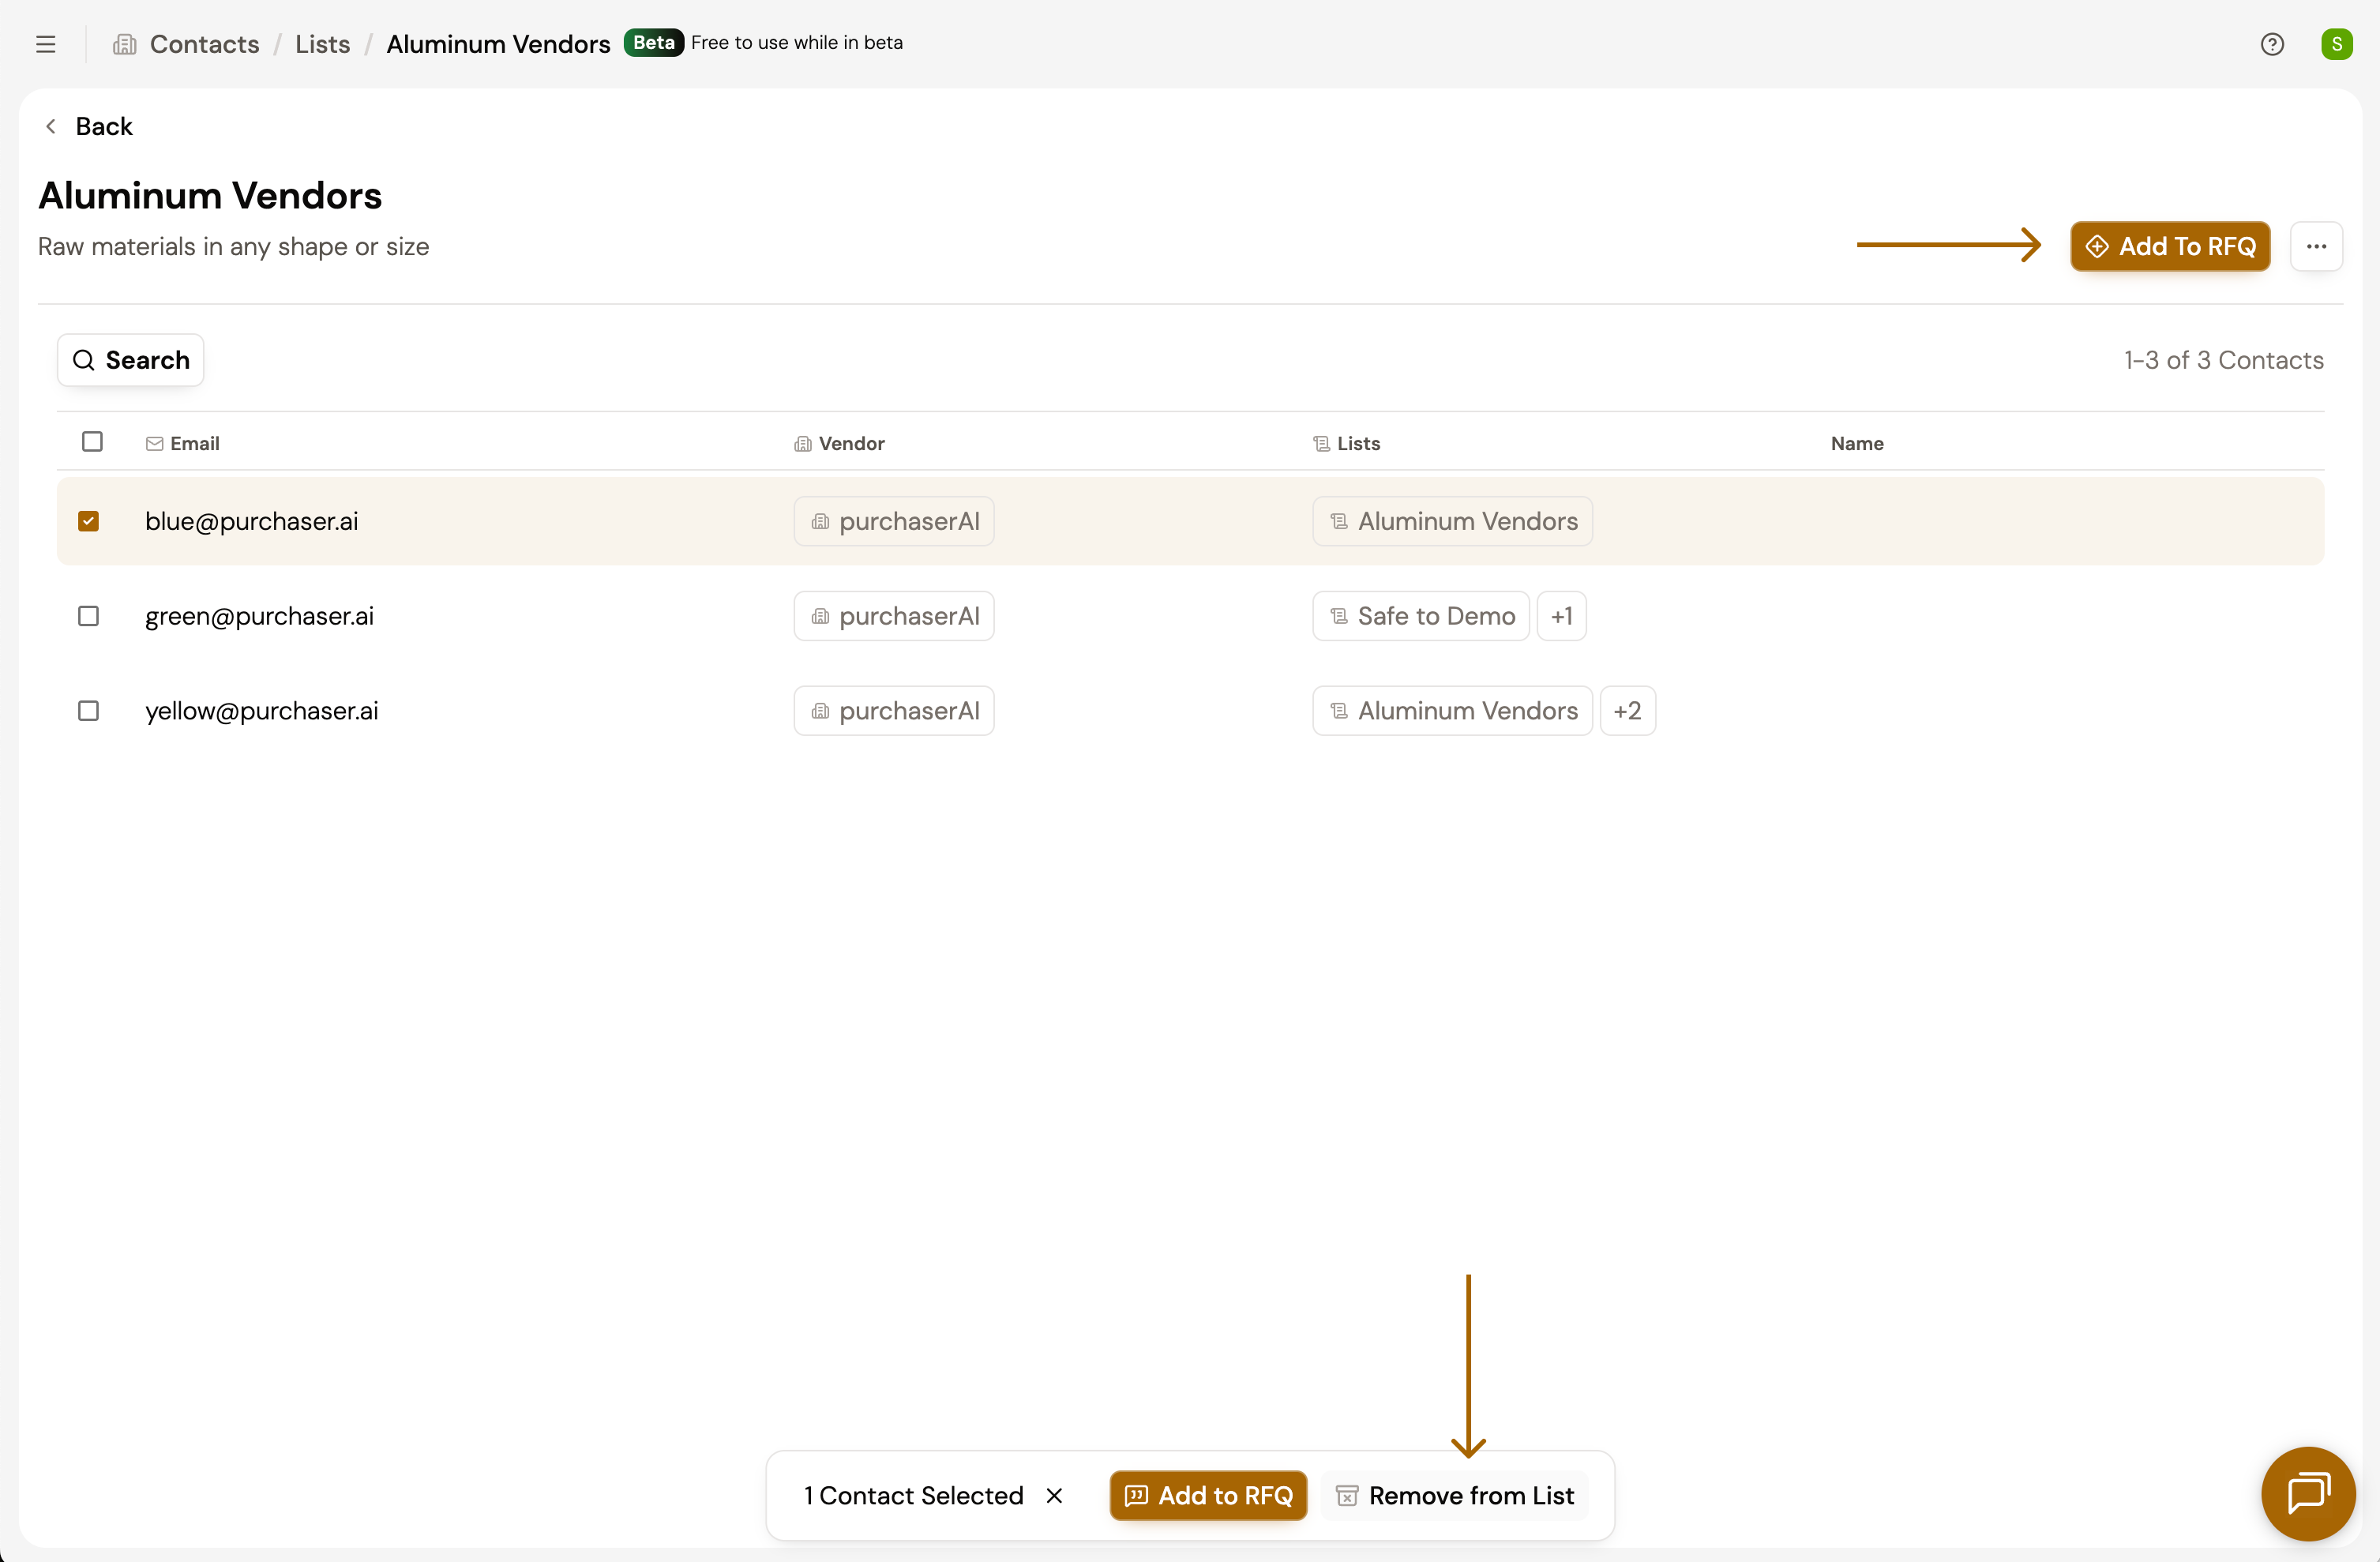
- Use the checkboxes to select the contact(s) you want to remove.
- In the action bar near the bottom of the page, click Remove. A message will confirm that the contact has been removed from the list. Keep in mind that this will not delete this contact from your Vendor Management collection, but simply remove it from the list that you created.
The Lists feature set was designed to be flexible enough to let you match the mental model of how you organize vendors in your head. If you already have organized lists of contacts documented somewhere else but want to get them into Purchaser, email founders@purchaser.ai and we can help facilitate an import process.
Still got questions? Contact Us or Book a Demo to learn more about how Purchaser can fit into your workflow.